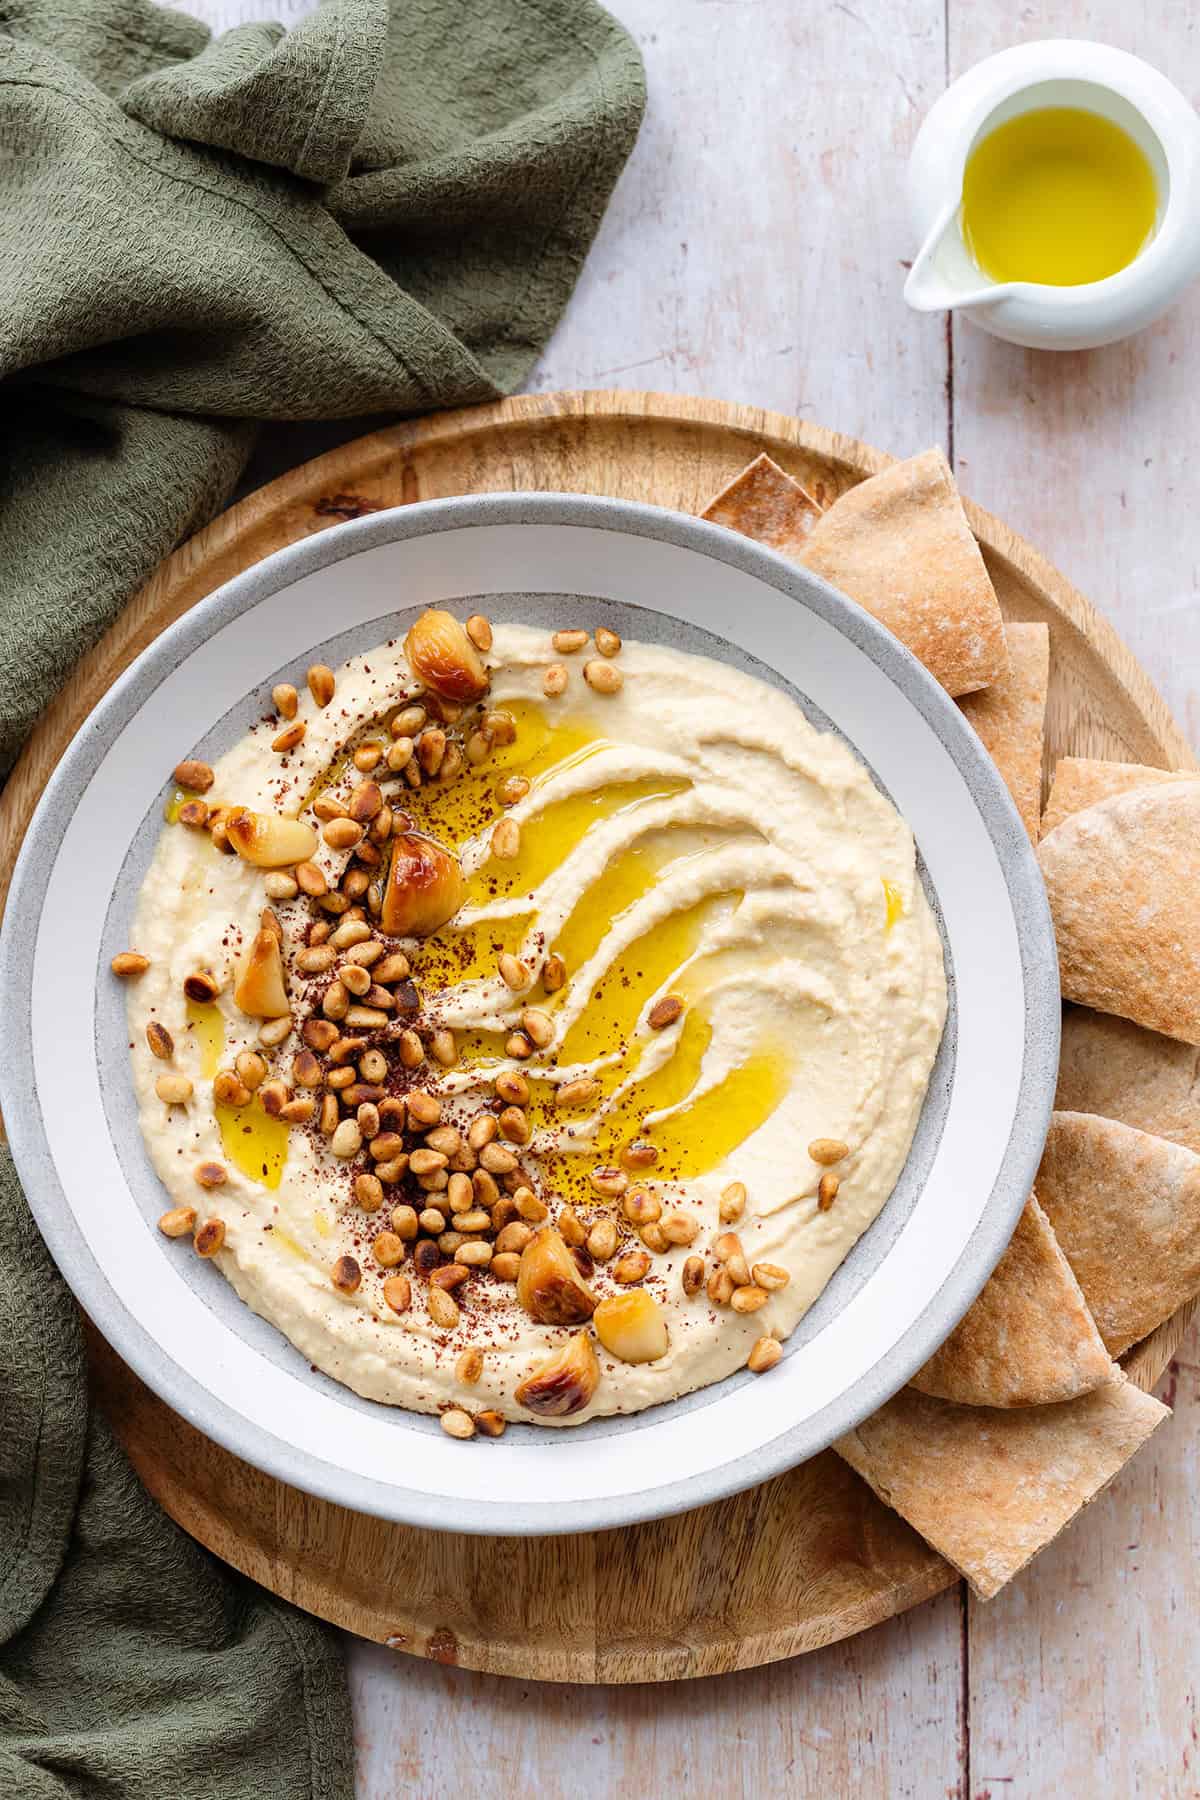
This Roasted Garlic Hummus is your classic hummus with a huge upgrade. Roasted garlic has a delicious caramelized taste and is milder than raw garlic which makes it great for spreads like this hummus. It's super creamy, vegan, and so garlicky!
Jump to:
What Makes This Hummus Different
Variations to classic hummus are usually made by adding different toppings to the finished dip. Normally, you're not supposed to change the ingredients too much but I'm only changing the garlic in this recipe.
- Roasting the garlic makes a huge difference in the hummus flavor. There's a lot more garlic (a whole bulb) than if you were adding raw garlic but the flavor is much milder.
- Raw garlic has a much stronger, more pungent flavor than roasted garlic. When you're adding raw garlic, I recommend only 1-3 cloves. If you're using roasted garlic, you can easily add a whole bulb or more.
- Click here to learn how to make roasted garlic. It's easier than you might think and you can always make a double batch and freeze the leftovers for later.
- This hummus is just as creamy and smooth as regular hummus, just with extra garlic flavor!
Ingredient Notes
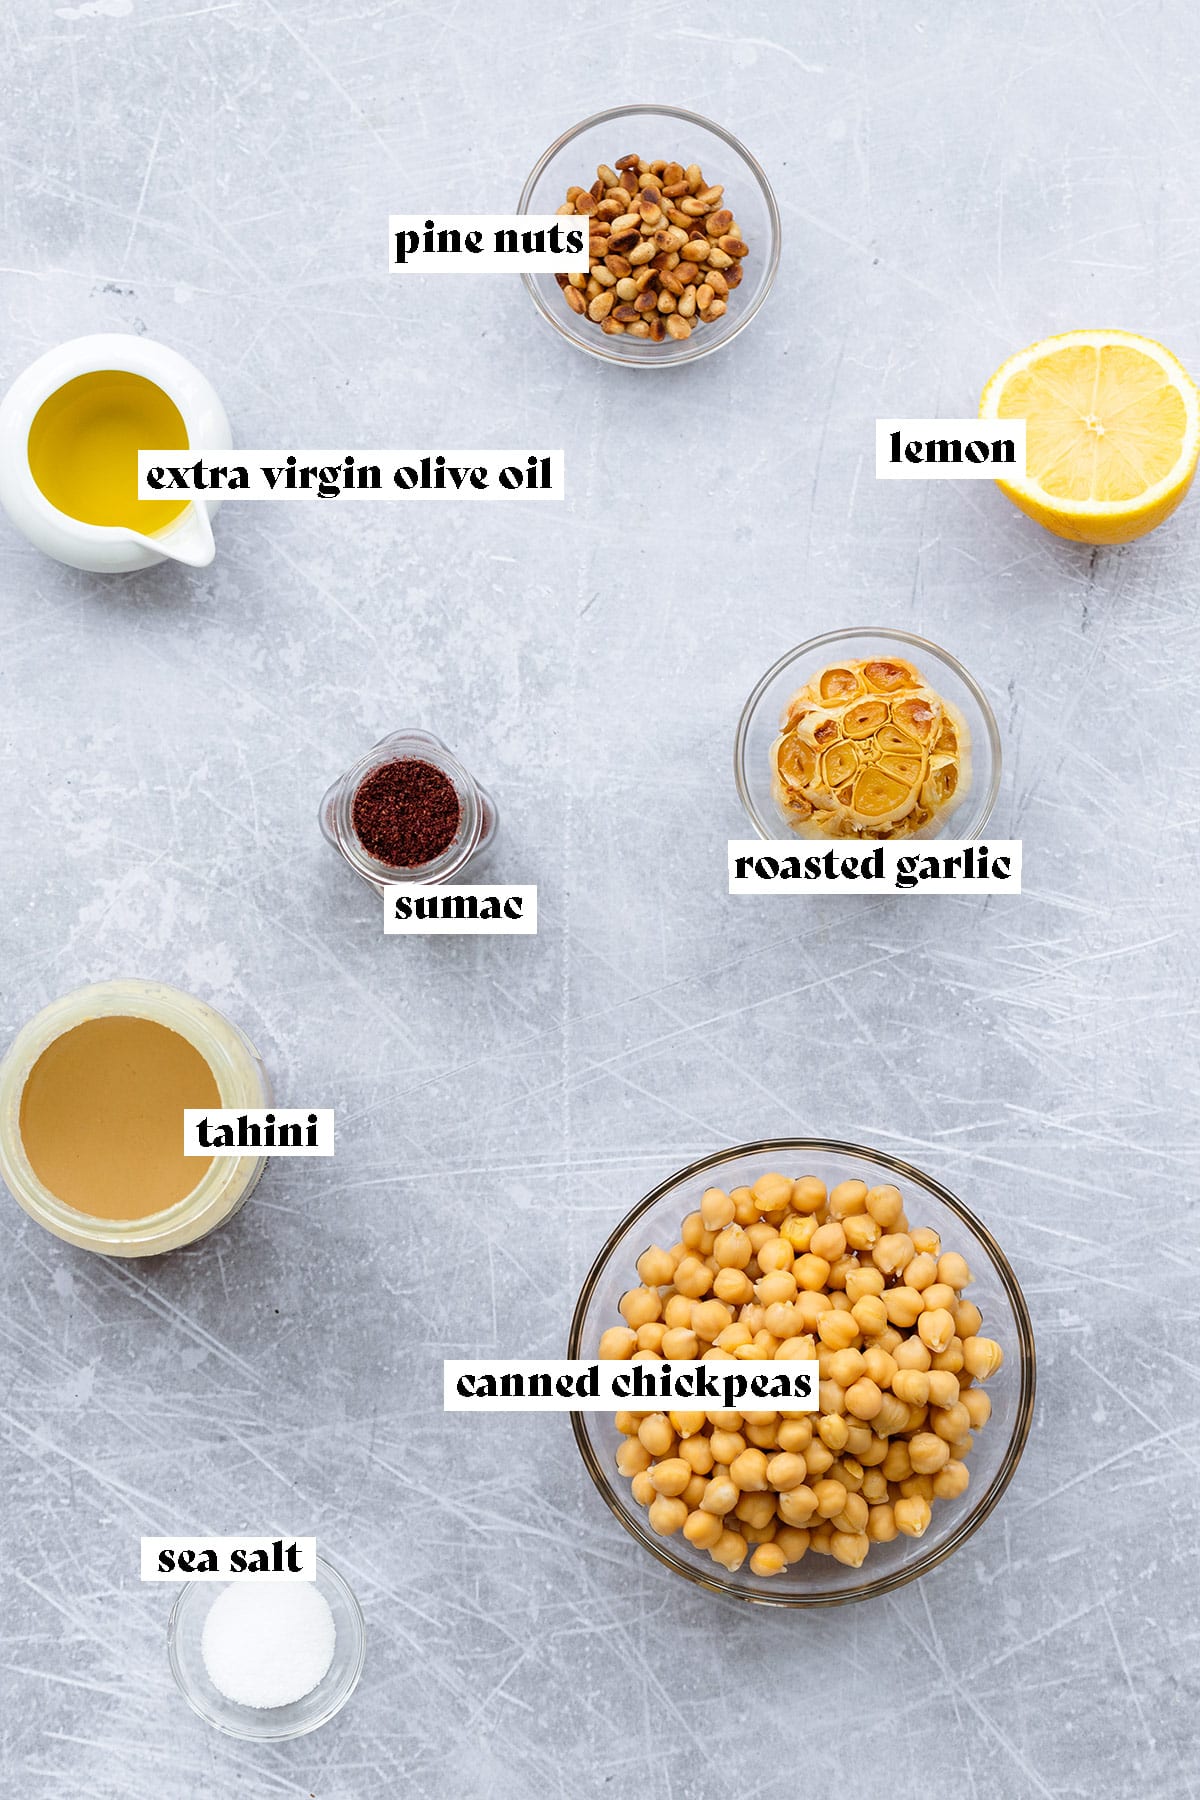
Chickpeas - I use canned chickpeas to save time but you can totally cook your own if you have a little extra time.
Tahini - There's a generous amount of it in this hummus so pick good quality tahini that's smooth and a little on the runnier side. It should be 100% sesame seeds. Raw tahini tends to be grainier and more bitter so I prefer regular tahini.
Lemon juice - I highly recommend using freshly squeezed lemon juice. It makes a huge difference!
Roasted garlic - You can learn all about How to Roast Garlic in the Oven in that blog post. If you don't have an extra hour to roast any, you can use raw garlic instead to make regular, classic hummus! Be sure to only use one or two cloves of raw garlic, NOT a whole head! The flavor would be extremely intense. I use a whole head of roasted garlic because the flavor is much more mellow after roasting it.
Step-By-Step Instructions
There are a few steps to make this hummus but they're super simple and all happen right in the food processor!
Would you like to save this recipe?
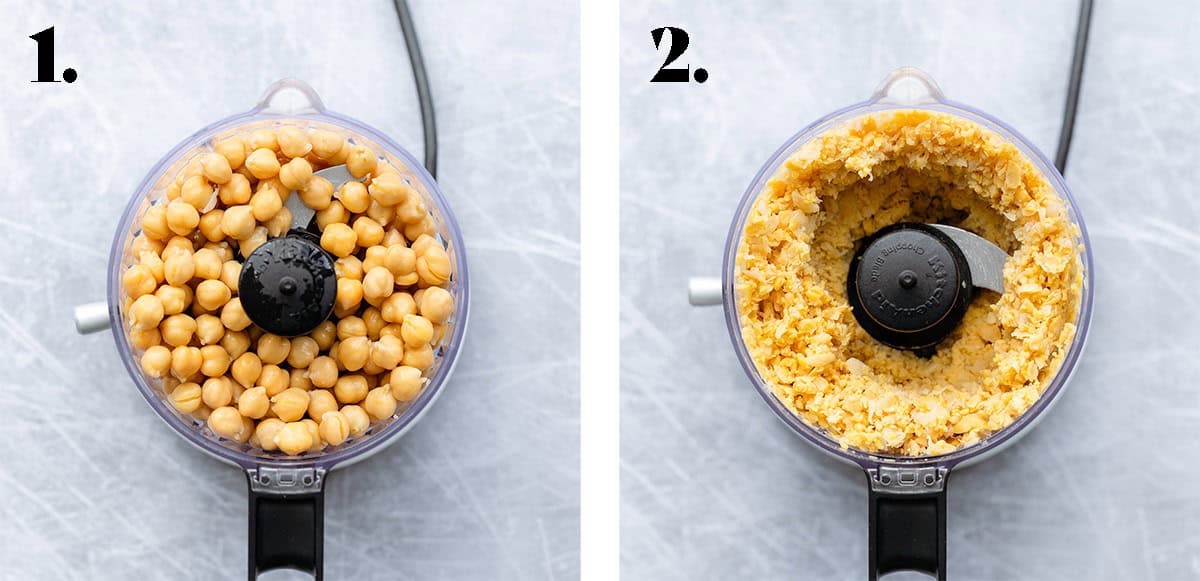
- Add your drained and rinsed chickpeas to a food processor.
- Process until it forms a rough paste. It will stick to the sides. I like to do this before adding the rest of the ingredients because I find it helps to chop up and blend the chickpeas better.
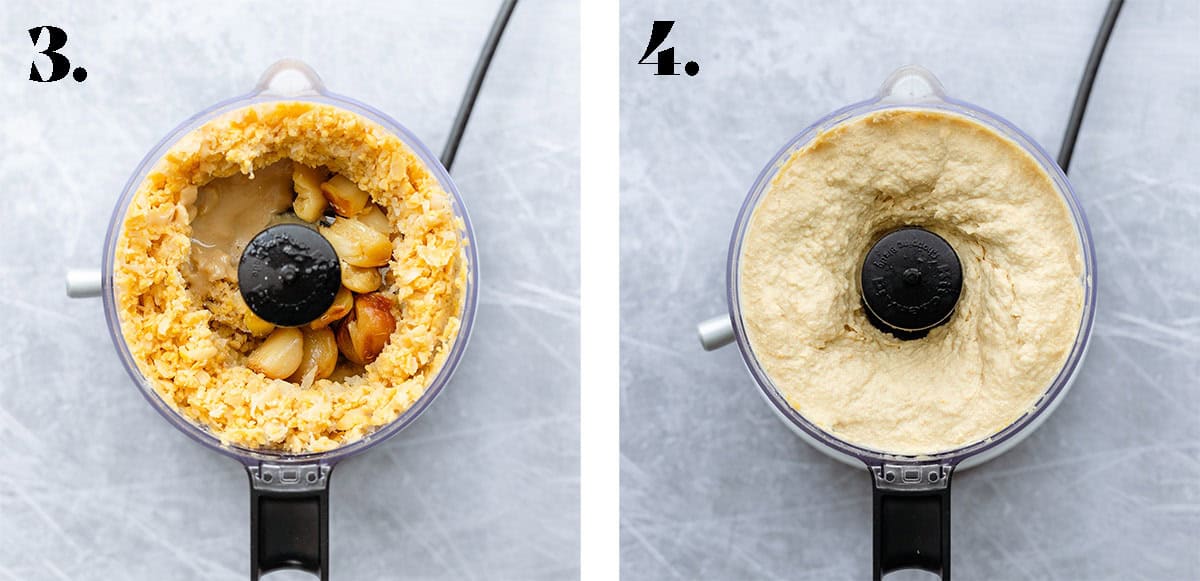
3. Add the tahini, roasted garlic, lemon juice, and sea salt. You can do this in stages or all at once. You might have to scrape the sides a couple of times.
4. It's almost done when it's all smooth and blended together but still thick.
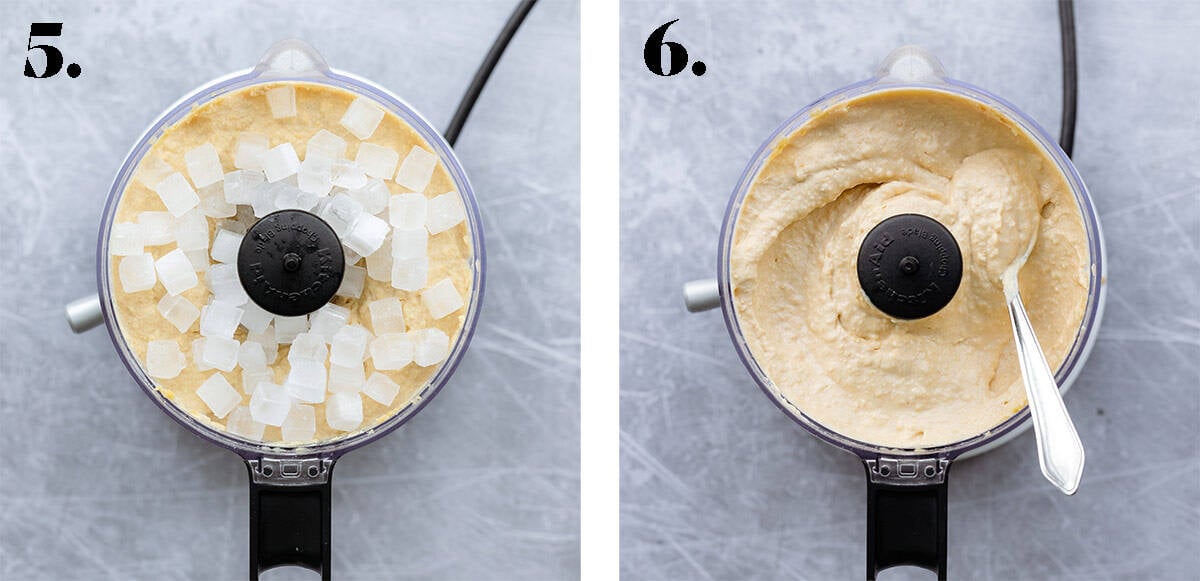
5. Add a small handful of ice cubes to the food processor and blend again until dissolved. I used mini ones because they blend easily but you can use regular ones. If you don't have ice, use very cold water.
6. Taste and add more salt if needed, or more ice cubes if it's still too thick.
How to Serve it
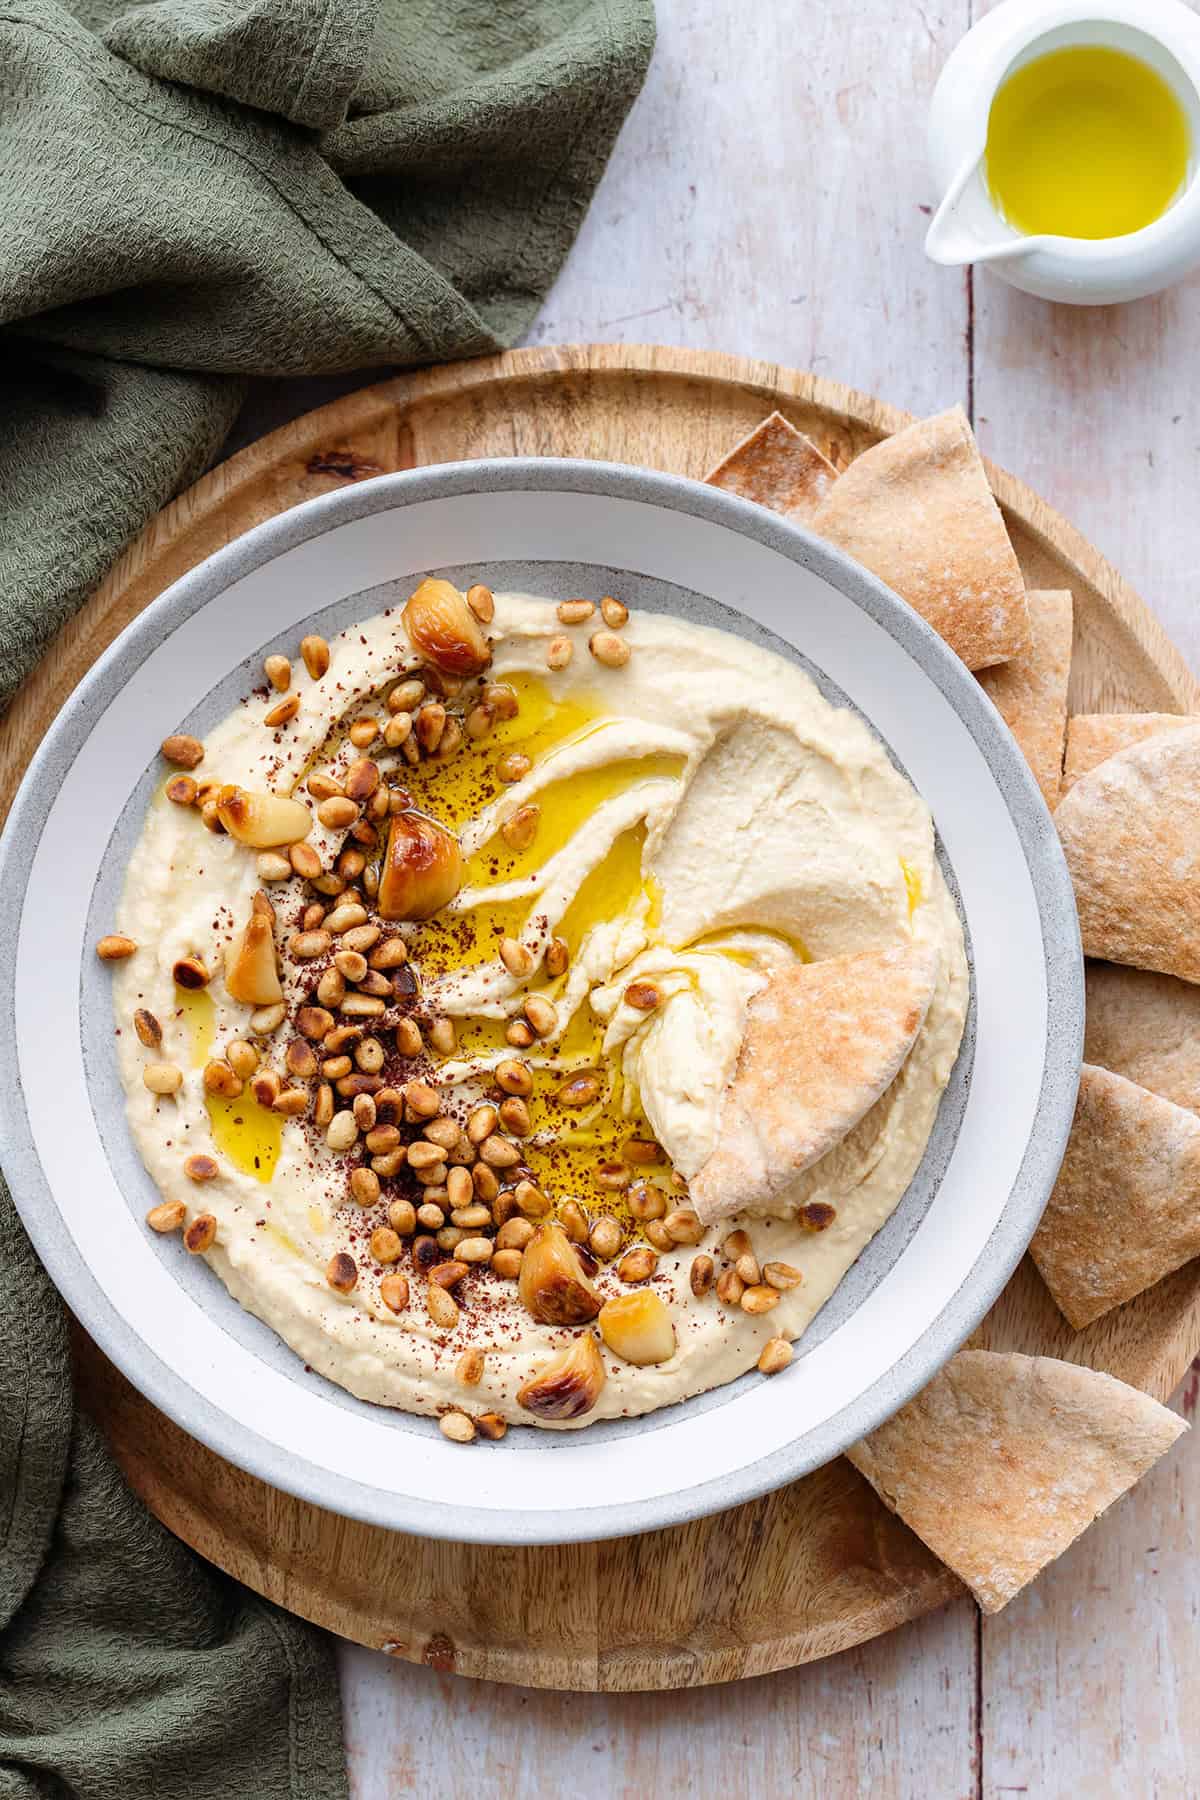
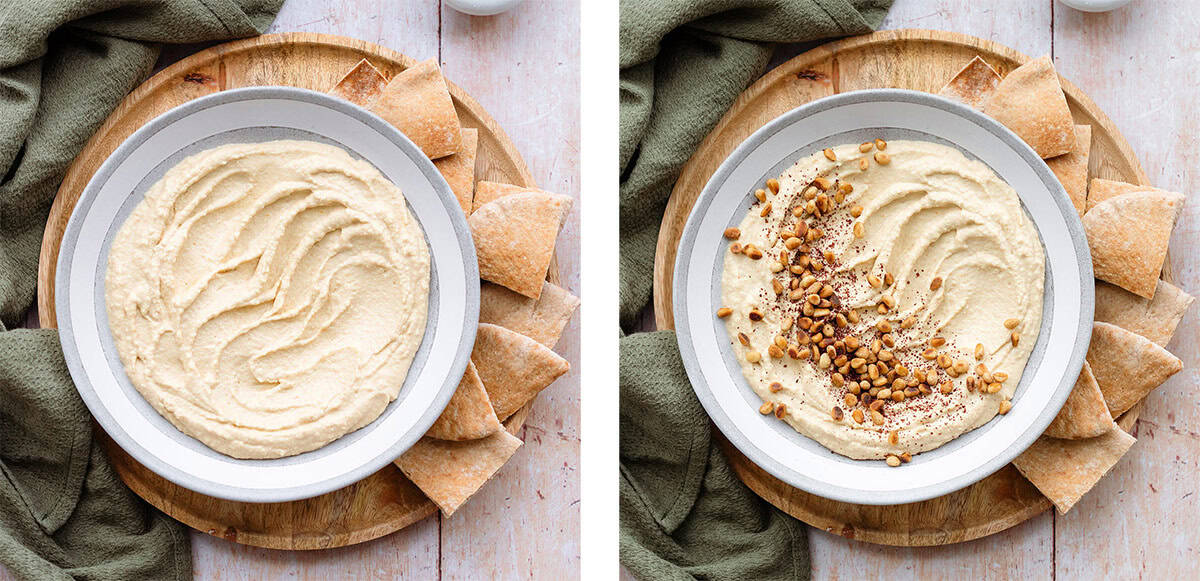
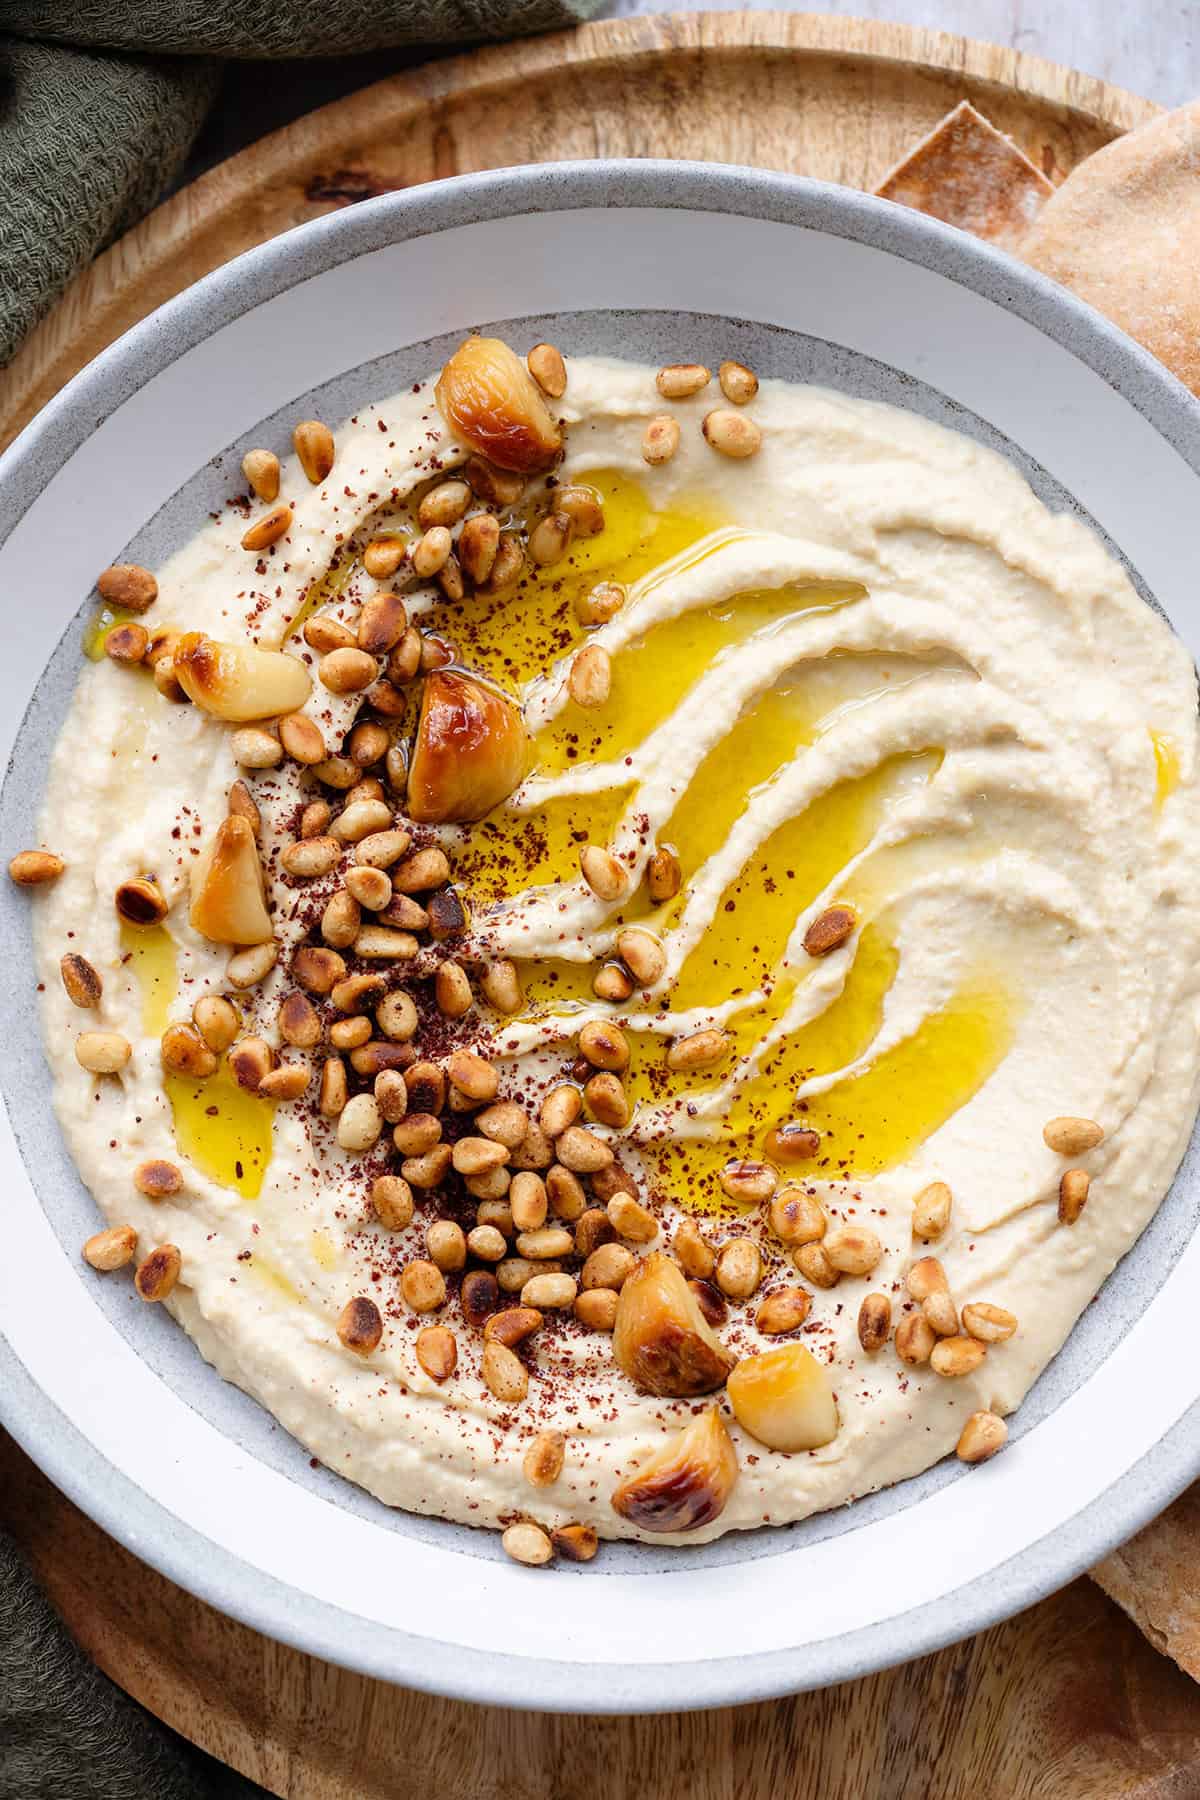
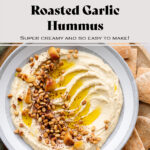
Hummus is usually served with a drizzle of extra virgin olive oil, a sprinkle of sumac, and toasted pine nuts which I did in this recipe. To make it extra special, I also added extra roasted garlic on top.
- Serve it as an appetizer with these Homemade Gluten-Free Pita Chips or these Oven Baked Veggie Chips.
- Use it in sandwiches or on toast in place of cream cheese, butter, or avocado to add some creaminess. I like adding this hummus to this Halloumi Sandwich with Roasted Vegetables
- Hummus is the perfect spread for finger food for parties or small get-togethers. I like it on these Sweet Potato Rounds with Hummus, Pesto, and Goat Cheese. There are so many other options! If you don't want to make sweet potato rounds, use a baguette to make bruschetta or crostini and top them with the same thing.
- Perfect for snacking - veggies like carrots or sliced cucumber are delicious dipped in hummus. You can add your favorite crackers too.
Storing
- If you're storing your hummus to eat later that day or the next day, you can leave it on the plate or your bowl and cover it with cling wrap and store it in the fridge.
- If you want to store it for longer than a day, I recommend transferring it to an airtight container or a jar and storing it in the fridge for up to 3-4 days.
- I don't recommend freezing hummus, I've never tried it but I think the texture would be off and too watery.
FAQs
It's very similar to regular classic hummus. The creamy roasted garlic gives it a stronger but mild garlic flavor that's slightly caramelized from roasting in the oven.
You can click the link here to learn How to Roast Garlic in the Oven. It's super simple!
Adding ice to the food processor when making hummus improves the consistency and makes it super airy. I use mini ice cubes because they're easier to blend but you can use regular ice. If you don't have any, use iced water.
There are a ton of options but for this one, you can add a drizzle of extra virgin olive oil, a sprinkle of sumac, toasted pine nuts, and some extra roasted garlic.
I don't recommend freezing it, it will most likely have a different texture and will be too watery.
📖 Recipe

Roasted Garlic Hummus
- Prep Time: 10 mins
- Roasted Garlic: 50 mins
- Total Time: 1 hour
- Yield: 4-6
- Category: Dip
- Method: Blending
- Cuisine: Middle Eastern
- Diet: Vegan
Ingredients
- 1 can chickpeas, drained and rinsed
- ½ cup tahini
- the juice of 1 lemon
- 1-2 head roasted garlic (see notes)
- ½ tsp sea salt
- 2-3 ice cubes (I used a small handful of mini ones)
- For serving: extra virgin olive oil, toasted pine nuts, and ground sumac
Instructions
- Add the chickpeas into a food processor and process until rough thick paste forms.
- Add the tahini, lemon juice, roasted garlic, and sea salt. Process until smooth, you may have to scrape the slides a couple of times. This could take a few minutes, depending on the strength of your food processor.
- Taste and add more salt, lemon juice, or roasted garlic (mash it a little before adding so it blends well) and process to mix.
- Add the ice cubes and process for a minute or two until they disappear and the hummus is smooth and fluffy.
- Serve drizzled with olive oil and sprinkled with toasted pine nuts, sumac, and leftover roasted garlic.
Notes
Roasted garlic: Preheat your oven to 400F (200C). Cut the top of the garlic so the cloves are exposed. Add some aluminum foil to a small baking dish, add the garlic, and drizzle with 1 tablespoon olive oil. Wrap and roast for 40-50 minutes or until golden. Be careful when opening the foil, there’s lots of steam. Once it’s cool, remove the garlic cloves with a small fork. If it’s roasted enough it should be easy. You can also squeeze the garlic right into the food processor but some might get left behind and you want to keep a few whole cloves for garnish.
Storing: Store in an airtight container in the fridge without the toppings for up to 3-4 days.




Ave says
This hummus looks absolutely delicious! I haven't made hummus for ages but would love to give your recipe a try asap.
Beth Pierce says
This is very delicious. I added more garlic and lemon to it. it turned out really yummy
Heather Klein Wolf says
My husband is a hummus addict. I always make it with raw garlic but def have to try roasted garlic, it sounds divine.
Clarice says
This looks good. It's been a while since I has hummus. Would love to try this. Thank you for sharing this. Happy to know it's quite easy to make.
Jennifer Prince says
I love hummus, but I've never tried making it. Your recipe seems simple enough, and the results look gorgeous. Delish!
Ifeoluwa says
Wow the presentation is beautiful! Can’t wait to try this recipe
Thena Franssen says
Love this recipe! I'm a hummus hound so adding in roasted garlic is a win. Such great flavor.
khoingn | The Broad Life says
Wow, this looks yummy and good for health. I may try it one.