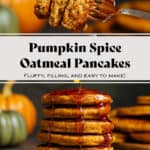
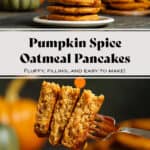
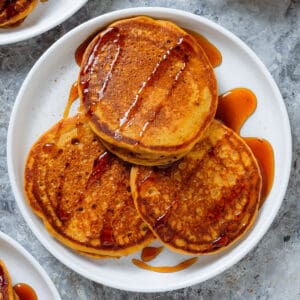
These Pumpkin Oatmeal Pancakes are made with blended rolled oats and a few other simple ingredients. They're fluffy, soft, filling, and naturally gluten-free! You can easily make a double batch for meal prep, and they're freezer-friendly! They are packed with pumpkin spice flavor, perfect for a fall brunch!
Jump to:
What Makes These Pumpkin Pancakes Special
Perfect for fall - I can't think of a better fall breakfast! They don't have as much pumpkin puree as these Gluten-Free Pumpkin Pancakes, so the oats stand out more, and so does the pumpkin pie spice. It's the perfect balance of flavors and a hit with both kids and adults!
Easy and simple - Besides blending the oats, there aren't any complicated to this recipe. Just add everything to a bowl and cook your pancakes! The ingredients are simple and easy to find in any grocery store, and the pancakes are freezer-friendly too!
Naturally gluten-free - These pancakes are made with just blended oats and no flour, which makes them naturally gluten-free! Always use certified gluten-free oats when needed. The coarsely blended oats give the pancakes a different texture than regular flour and make them more filling.

Ingredients
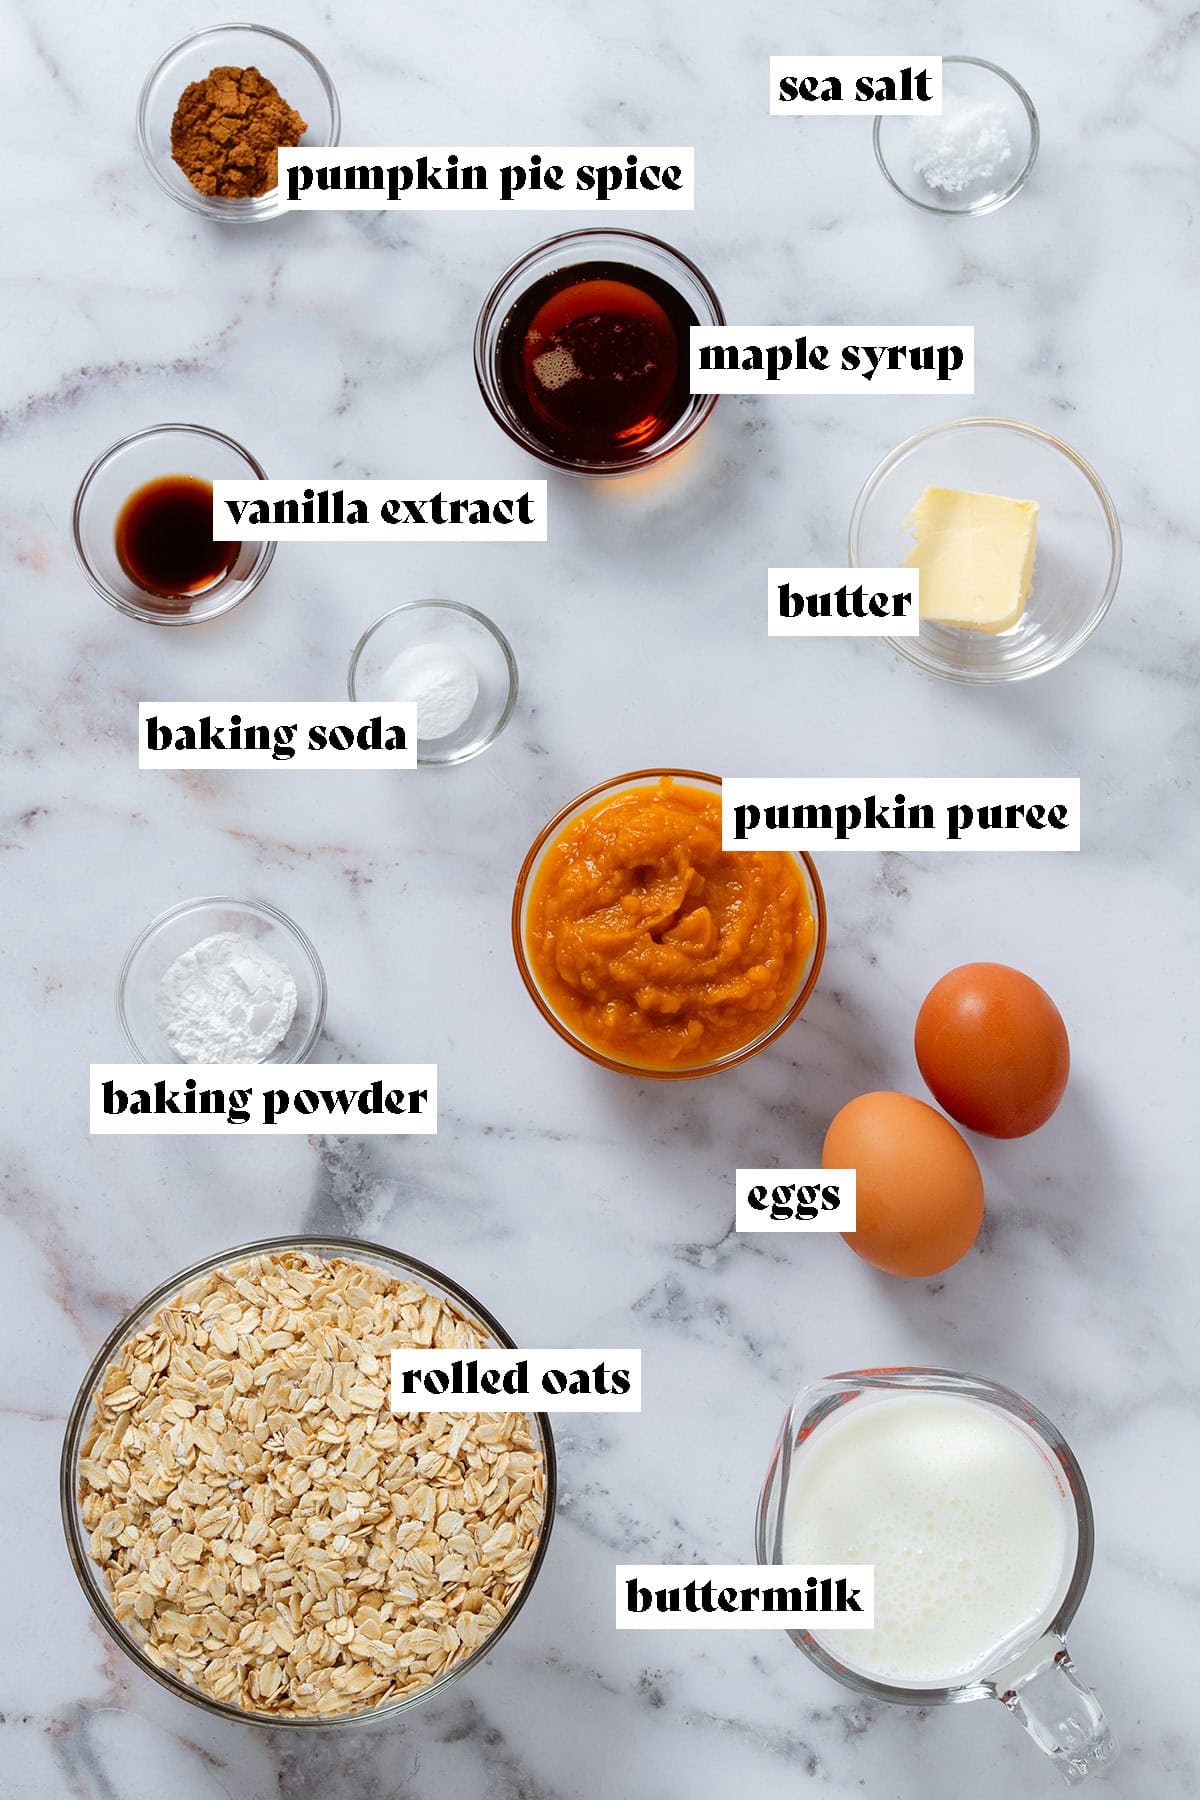
- Rolled oats - I recommend only using classic rolled oats for the best texture and taste. Steel-cut oats won't cook properly, and quick-cooking oats may work, but they could give the batter and pancakes a different texture because they're softer. Use certified gluten-free oats if needed.
- Buttermilk - Tangy buttermilk helps to make the pancakes fluffier and softer. It also helps them rise. You can learn how to make your own (both regular and dairy-free) in the next paragraph and the recipe card.
- Pumpkin puree - Look for pure canned pumpkin puree, not pumpkin pie filling. The canned filling has added sugar and other ingredients that would throw off the consistency and flavor of the pancake batter.
- Eggs - Large eggs help everything bind together. You could try flax eggs for a vegan version, but I haven't tested it, so I can't guarantee the pancakes would still hold shape.
- Maple syrup - Pure maple syrup adds a little bit of sweetness, flavor, and moisture to the batter. I like using extra dark maple syrup here for a stronger flavor, but any maple syrup you have works.
- Pumpkin pie spice - This is usually a blend of cinnamon, ginger, nutmeg, cloves, and allspice. Sometimes it can also have black pepper. You can make your own blend or use a store-bought one.
Variations and Substitutions
- Homemade buttermilk - Measure 2 cups of milk, remove 2 tablespoons of the milk, and add 2 tablespoons of lemon juice or apple cider vinegar. Gently stir and let it sit for 5-10 minutes. It's ready when it slightly thickens and curdles. You can do this with cow's milk, almond milk, oat milk, or any other milk you prefer. Choose a good-quality creamy milk, but avoid canned coconut milk because it's too thick.
Step-by-Step Instructions
- Blend your oats into coarse flour either in a blender or in a food processor. I like to keep them more coarse rather than completely fine to give the pancakes some texture.
- Stir the blended oats with baking powder, baking soda, and pumpkin pie spice. Set aside.
- In a large bowl, whisk together eggs, melted butter, vanilla extract, and pumpkin puree until well mixed.
- Add buttermilk and whisk again.

- Add the oat mixture and whisk until combined.
- Let the batter rest for 10 minutes while you prepare your pan. Don't skip this! This step is important because the batter will be very thin at first, but as it sits, the oats will soak up a lot of the moisture.

- Heat up a large pan over medium-high heat and add butter.
- Spoon the pancake batter into your pan to form pancakes (about 2-3 tablespoon per pancake).
- Cook the pancakes for 2-3 minutes on each side over medium heat. You’ll know they’re ready to be flipped when bubbles start to form and the edges set. They should be easy to flip.
- Repeat with the remaining batter, adding more butter as needed or wiping it off carefully with a paper towel if it burns.
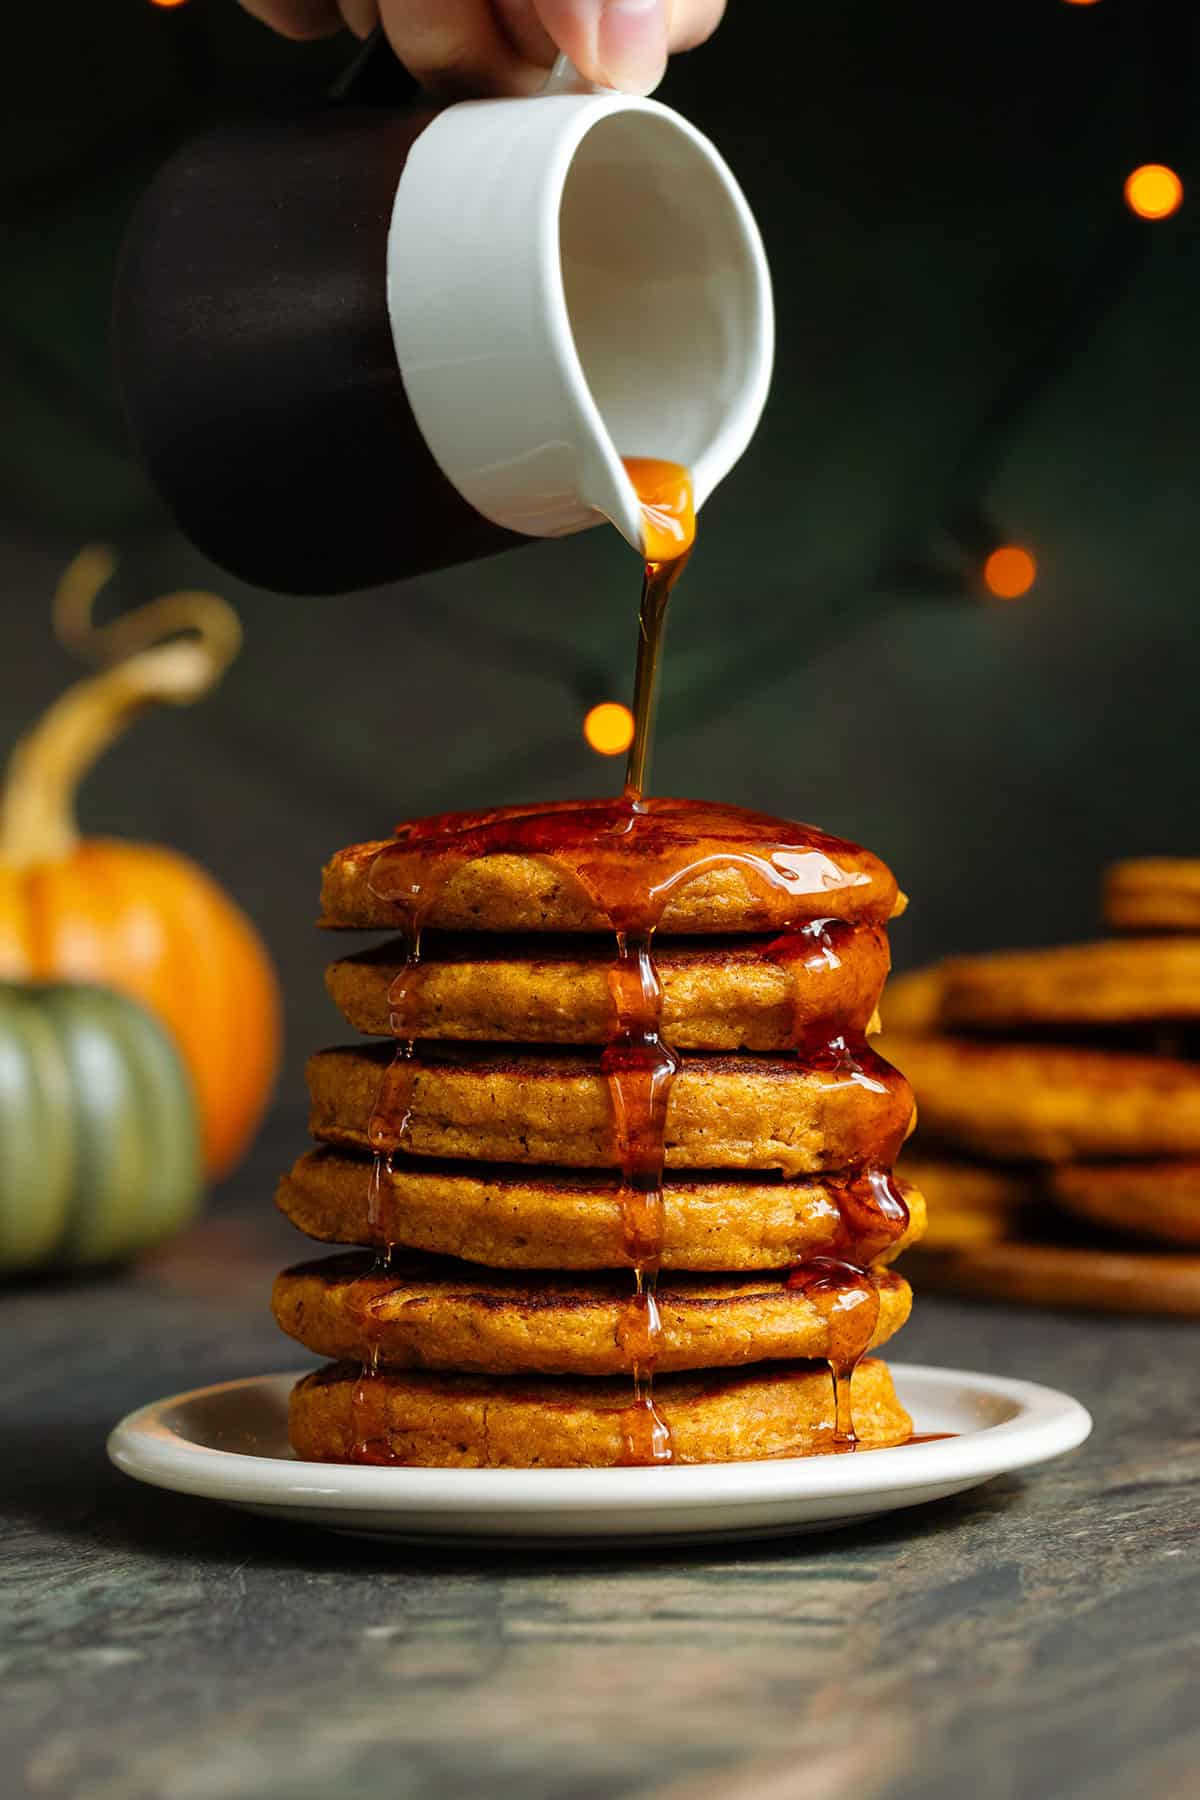
- Serve the pancakes with your favorite toppings and enjoy!
Would you like to save this recipe?

Tips & Tricks!
- Let the oats soak - This is definitely the most important step in the recipe. Letting the batter sit after you add the blended oats thickens it and results in a better texture. The pancakes also hold their shape much better and rise more. Below is a photo showing the difference between not letting the batter sit (left) and letting it rest for 10 minutes (right).
- Keep the pancakes warm - To keep your pancakes warm while you cook the rest of the batter, preheat your oven to 200°F and keep your cooked pancakes in the preheated oven on a baking sheet in a single layer. Use a baking sheet with a wire rack to keep them crispy on both sides.

Serving Suggestions
You can keep things simple and serve the pancakes with just maple syrup or butter, but I'm always serving pancakes with a variety of toppings so everyone can pick their favorite.
I like serving these with full-fat Greek yogurt, nut butter like almond butter or peanut butter, fresh berries, or my favorite Caramelized Apples for special occasions or holidays (they're so good!!). You can also add chopped toasted nuts, or drizzle the pancakes with flavored syrups like this homemade Pumpkin Spice Simple Syrup or this Apple Brown Sugar Syrup instead of maple syrup!
You can also serve these pancakes for dessert instead of breakfast with a dollop of vanilla ice cream and some whipped cream!

Storing and Reheating
Refrigerator: Store the pancakes in an airtight container in the fridge for up to 3-4 days.
Freezer: You can also freeze the pancakes in a freezer-safe container or a freezer bag for 2-3 months. You can place a small piece of parchment paper between each pancake to prevent them from sticking together. I often don't do this, and they're still fairly easy to pull apart.
Reheating: Preheat your oven to 300°F, place your pancakes on a baking sheet in a single layer, and reheat in the preheated oven for about 10 minutes. You can reheat them from frozen as well; it will just take slightly longer. Alternatively, you can also defrost them in the fridge overnight first.
FAQs
Did you use classic rolled oats? Did you let the batter rest for the full 10 minutes? The oats need time to soak, and the batter will thicken as it sits. If you did let it rest, it might be because you added too much pumpkin puree or maple syrup to the batter.
No, this recipe won't work with regular or gluten-free flour, but I have a separate recipe for regular Pumpkin Pancakes.

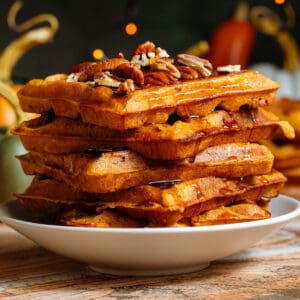
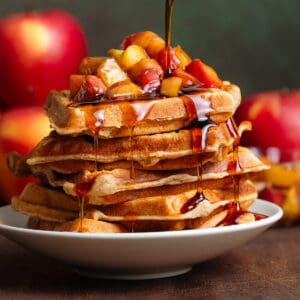
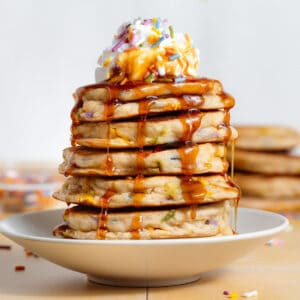
More Sweet Pumpkin Recipes
If you have leftover pumpkin puree and want to try some other pumpkin recipes, I highly recommend trying any of the four linked below! The waffles are my favorite. Otherwise, to see all the latest pancake recipes, head over to Pancakes and Waffles.
⭐⭐⭐⭐⭐
Have you tried these Pumpkin Oatmeal Pancakes? Please leave a star rating and let me know how it went in the comments below!
Hungry for more? Subscribe to my Newsletter for a free recipe e-book and new weekly recipes straight to your inbox. Don't forget to follow me on Pinterest and Instagram to always stay in the loop!
Print📖 Recipe

Pumpkin Oatmeal Pancakes
These Pumpkin Oatmeal Pancakes are made with blended rolled oats and a few other simple ingredients. They're fluffy, soft, filling, and naturally gluten-free! You can easily make a double batch for meal prep, and they're freezer-friendly! They are packed with pumpkin spice flavor, perfect for a fall brunch!
- Total Time50 minutes
- Yield3-4 (approx. 15 pancakes) 1x
- DietVegetarian
Ingredients
- 2 cups rolled oats (makes approx. 2 cups coarse oat flour)
- 1 ½ tsp baking powder
- ½ tsp baking soda
- 2 tsp pumpkin pie spice
- 2 large room-temperature eggs
- 2 tbsp maple syrup
- 3 tbsp melted unsalted butter
- 1 tsp vanilla extract
- ½ cup pumpkin puree
- 1 ¼ cup buttermilk
- Butter or oil for cooking
Instructions
- Blend your oats into coarse flour either in a blender or in a food processor. I like to keep it more coarse rather than completely fine to give the pancakes some texture.
- Stir the blended oats with baking powder, baking soda, and pumpkin pie spice. Set aside.
- In a large bowl, whisk together eggs, melted butter, vanilla extract, and pumpkin puree until well mixed.
- Add buttermilk and whisk again.
- Add the oat mixture and whisk until combined.
- Let the batter rest for 10 minutes while you prepare your pan. This step is important because the batter will be very thin at first, but as it sits, the oats will soak up a lot of the moisture.
- Heat up a large pan over medium-high heat and add butter.
- Spoon the batter into your pan to form pancakes (about 2-3 tablespoon per pancake).
- Cook the pancakes for 2-3 minutes on each side over medium heat. You’ll know they’re ready to be flipped when bubbles start to form and the edges set. They should be easy to flip.
- Repeat with the remaining batter, adding more butter as needed or wiping it carefully with a paper towel if it burns.
- Serve the pancakes with maple syrup, berries, or your favorite toppings and enjoy!
Equipment
Notes
Homemade buttermilk: Measure 2 cups of milk, remove 2 tablespoons of the milk, and add 2 tablespoons of lemon juice or apple cider vinegar. Gently stir and let it sit for 5-10 minutes. It's ready when it slightly thickens and curdles. You can do this with cow's milk, almond milk, oat milk, or any other milk you prefer. Choose a good-quality creamy milk.
Keep the pancakes warm: Preheat your oven to 200°F and keep your cooked pancakes in the preheated oven on a baking sheet in a single layer while you finish cooking the rest of the batter.
Storing: You can store any leftover pancakes in an airtight container in the fridge for up to 3-4 days or freeze them for 2-3 months. You can place small pieces of parchment paper between the pancakes to prevent them from freezing together.
Reheating: The best way to reheat these is in a preheated oven at 300°F on a baking sheet for about 10 minutes. You can also reheat them in a non-stick pan with a tiny bit of butter if you prefer.
- Prep Time: 20 mins
- Cook Time: 30 mins
- Category: Breakfast
- Method: Stovetop
- Cuisine: American
Veronika Sykorova says
These pancakes are inspired by my 3 ingredient banana oatmeal pancakes and while they have a few more ingredients, they're just as easy to make!