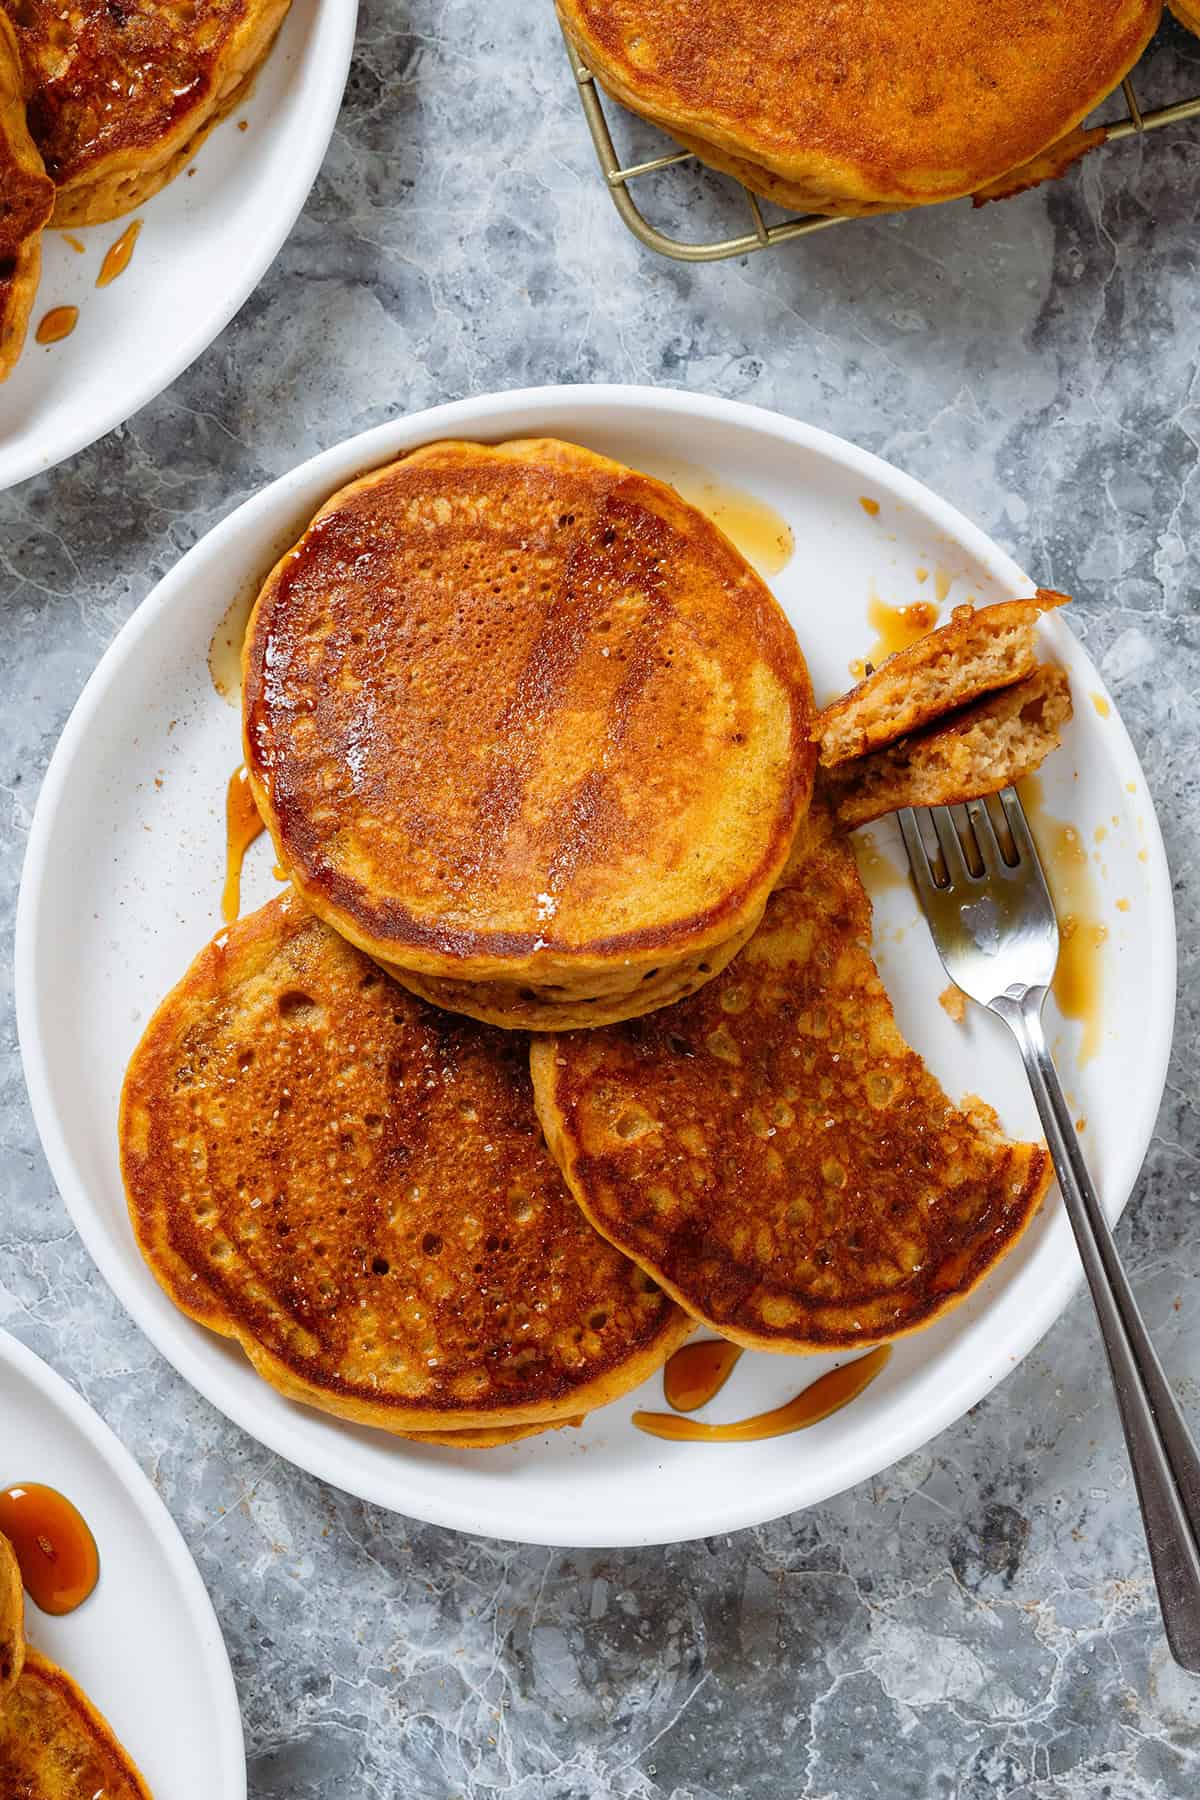
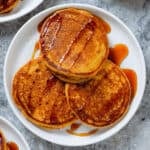
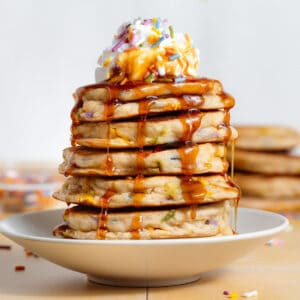
These Gluten-Free Sweet Potato Pancakes are easy to make, crispy on the outside, and extra soft and fluffy on the inside! If you've never added sweet potato puree to a pancake batter, you've got to try these! They're very freezer-friendly, so you can enjoy them any day of the week! The recipe is very simple and easy to make dairy-free!
Jump to:
Why You'll Love These Sweet Potato Pancakes
Something different - There are so many pancakes out there with either pumpkin, mashed banana, or apple puree, but there's barely any with sweet potato! These pancakes are a great way to use up any plain leftover sweet potatoes, and they're perfectly crispy on the outside and soft and fluffy on the inside. Cinnamon, cloves, and allspice add warmth and just the right amount of flavor.
Simple and easy - If you use canned sweet potato puree, making the batter will be super simple! The rest of the ingredients are very basic, and the recipe is really straightforward - you can't mess it up! I also recommend a specific gluten-free flour for the best results!
Freezer-friendly - Just like most other pancakes, these also freeze very well! When you reheat them in the oven, they get their crispiness back, and I find they're even better reheated!
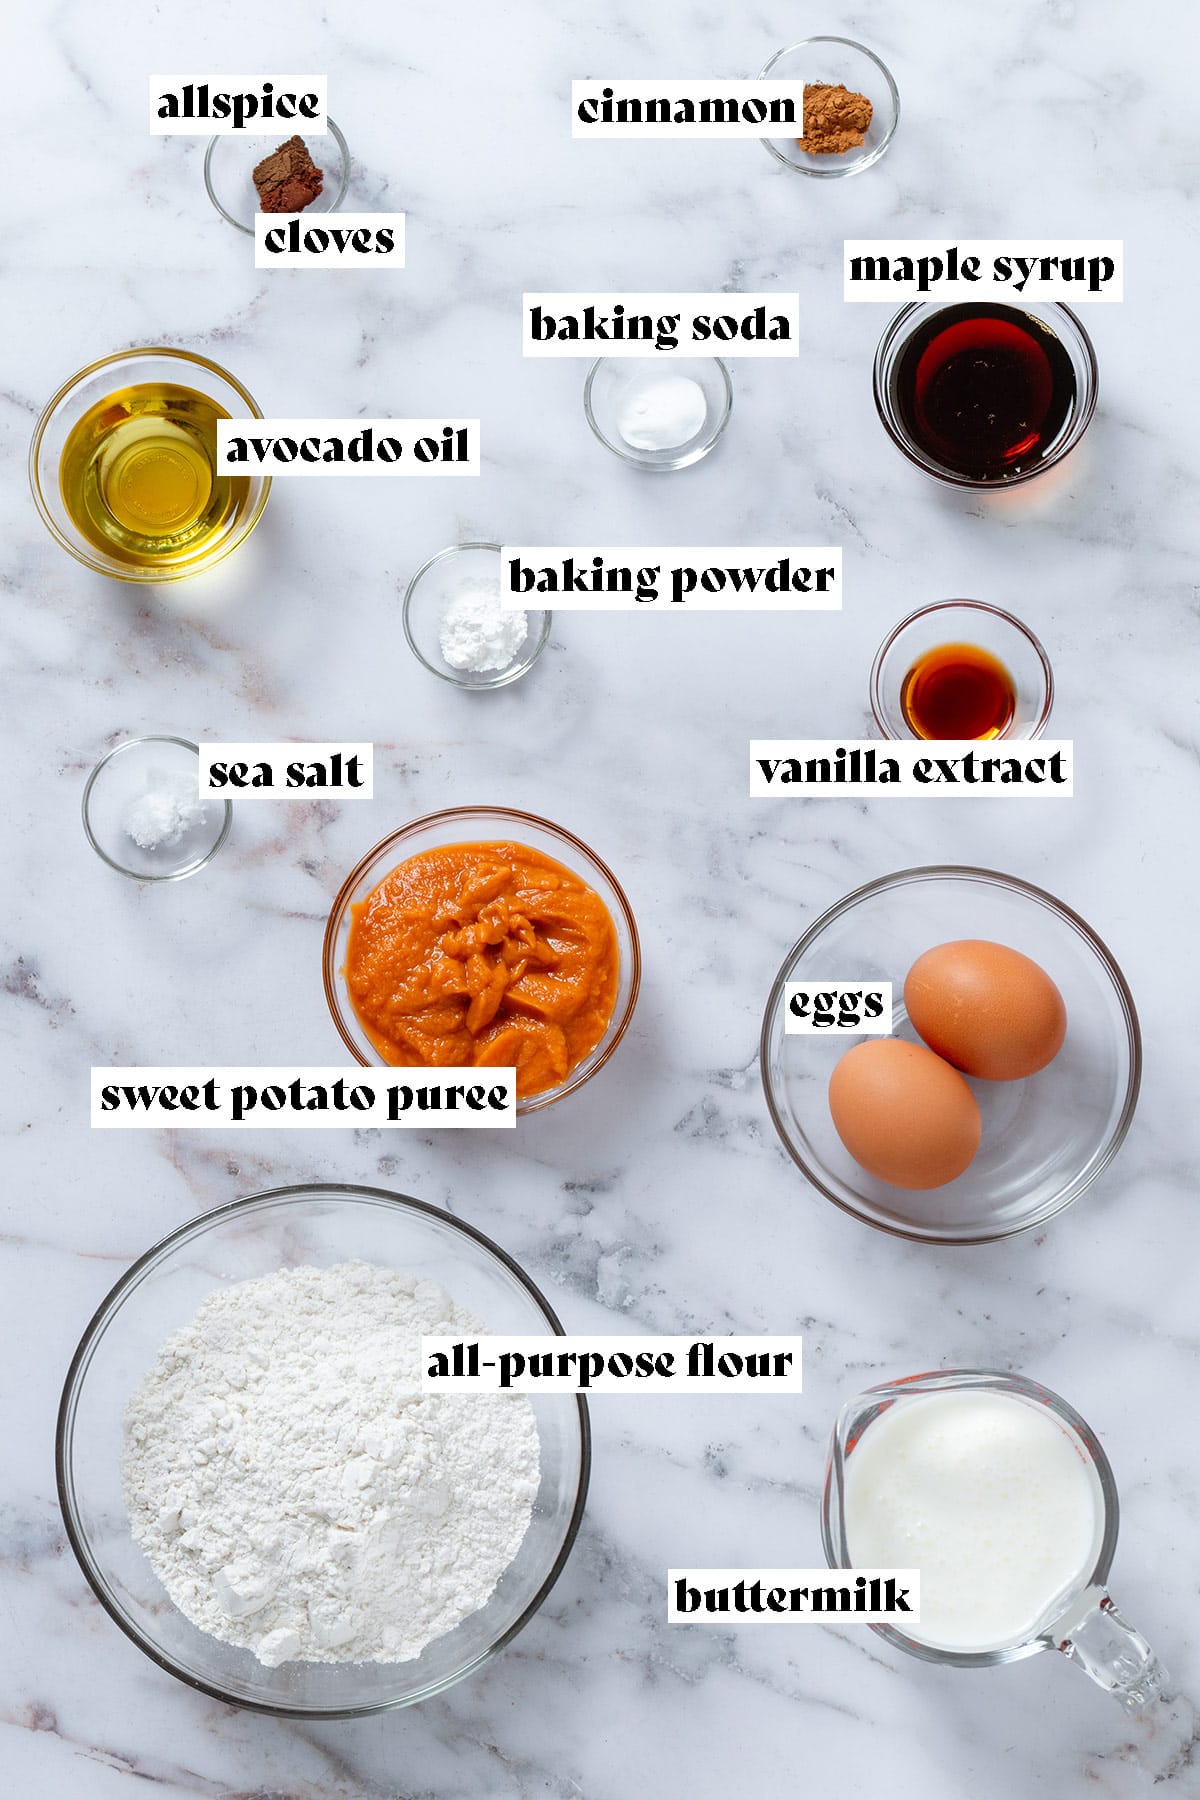
Ingredients
- Gluten-free flour - You can either use regular all-purpose flour or a gluten-free alternative. All my recipes are developed using Bob's Red Mill 1:1 gluten-free flour, so that's what I always recommend!
- Sweet potato puree - You can either make your own by steaming or boiling sweet potatoes and mashing or blending them into a puree, or you can buy them canned if you want to save time. They're usually right next to pumpkin puree in the grocery store. If you have any leftover sweet potatoes, either steamed or baked but plain, you can blend them with an immersion blender and use them for this!
- Buttermilk - I like using buttermilk in my pancakes because it makes them extra light and fluffy. If you don't have it or you want to keep these dairy-free, I have a homemade version in the variations section below!
- Eggs - Eggs help bind everything together. I always recommend large eggs for the best results. I haven't tested any vegan alternatives, but if you do, please let me know how it went in the comments!
- Maple syrup - A little bit of maple syrup adds sweetness and flavor. I like using extra dark maple syrup for a stronger molasses flavor here, but any kind will work. You can also use other liquid sweeteners like honey, agave, or coconut nectar.
- Avocado oil and butter - The batter is made with avocado oil, but the pancakes are cooked in butter. You can always add melted butter to the batter instead of oil if you prefer. I mainly choose oil because it's quicker and doesn't require melting.
- Spices - I find that simple is the best way to go here. The pancakes are flavored with vanilla extract (or paste), ground cinnamon, allspice, and cloves. The spices add warmth and complement the sweet potatoes really well.
Variations and Substitutions
- Homemade buttermilk - You can use whole milk or any vegan milk except canned coconut milk. Measure 2 cups of regular or dairy-free milk, remove 2 tablespoons of the milk, and add 2 tablespoons of lemon juice or apple cider vinegar. Gently stir and let it sit for 5-10 minutes. It's ready when it slightly thickens and curdles.
- Pumpkin puree - You can turn these pancakes into pumpkin spice pancakes with a few simple tweaks! They work great with canned sweet potato, and they'll turn out just as great with canned pumpkin! Just add pumpkin spice and you got the perfect fall pancakes!
Step-by-Step Instructions
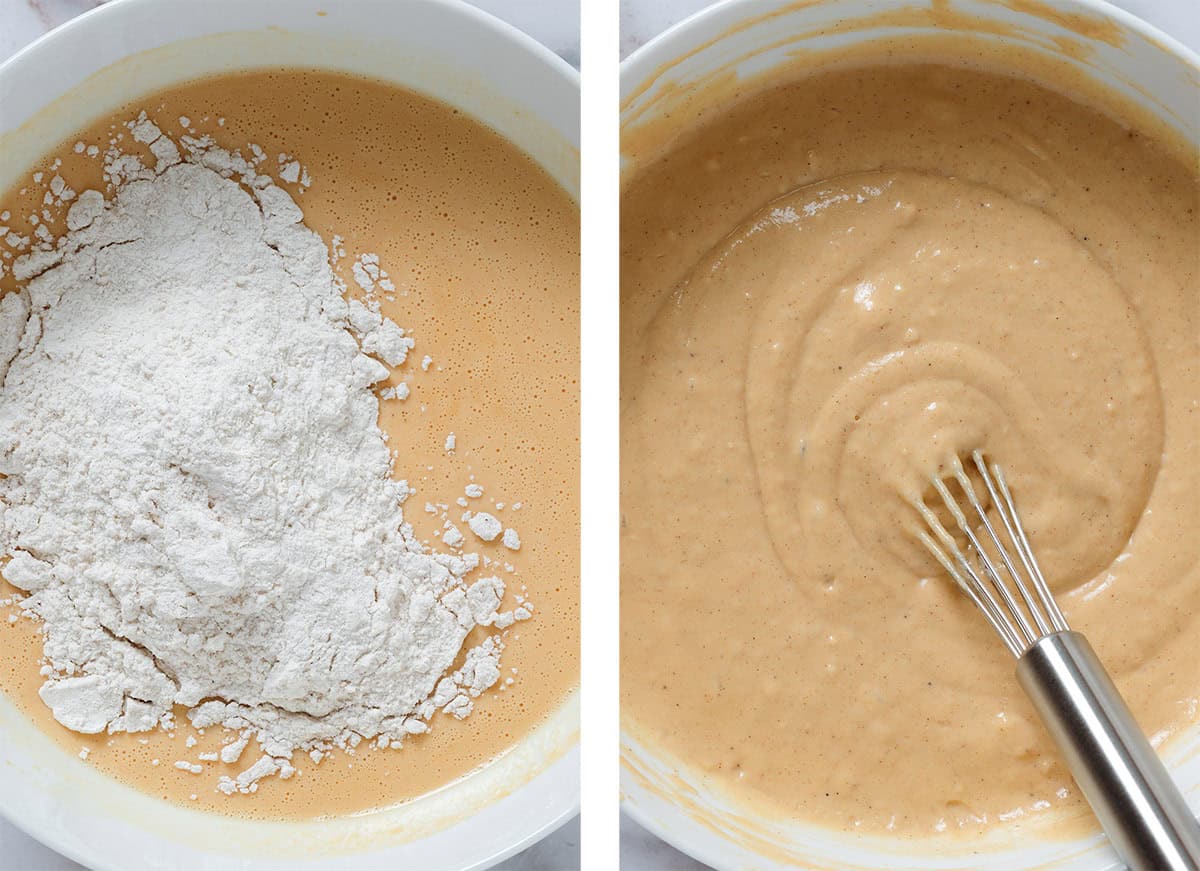
- In a medium bowl, whisk together the flour, baking powder, baking soda, ground cinnamon, cloves, and allspice. Set aside.
- In a large bowl, whisk together eggs, sweet potato puree, avocado oil, maple syrup, vanilla extract, and fine sea salt.
- Add buttermilk and whisk again to mix.

- Add the dry ingredients to the wet ingredients in two batches and whisk and fold until just mixed. Don’t overmix.
Would you like to save this recipe?
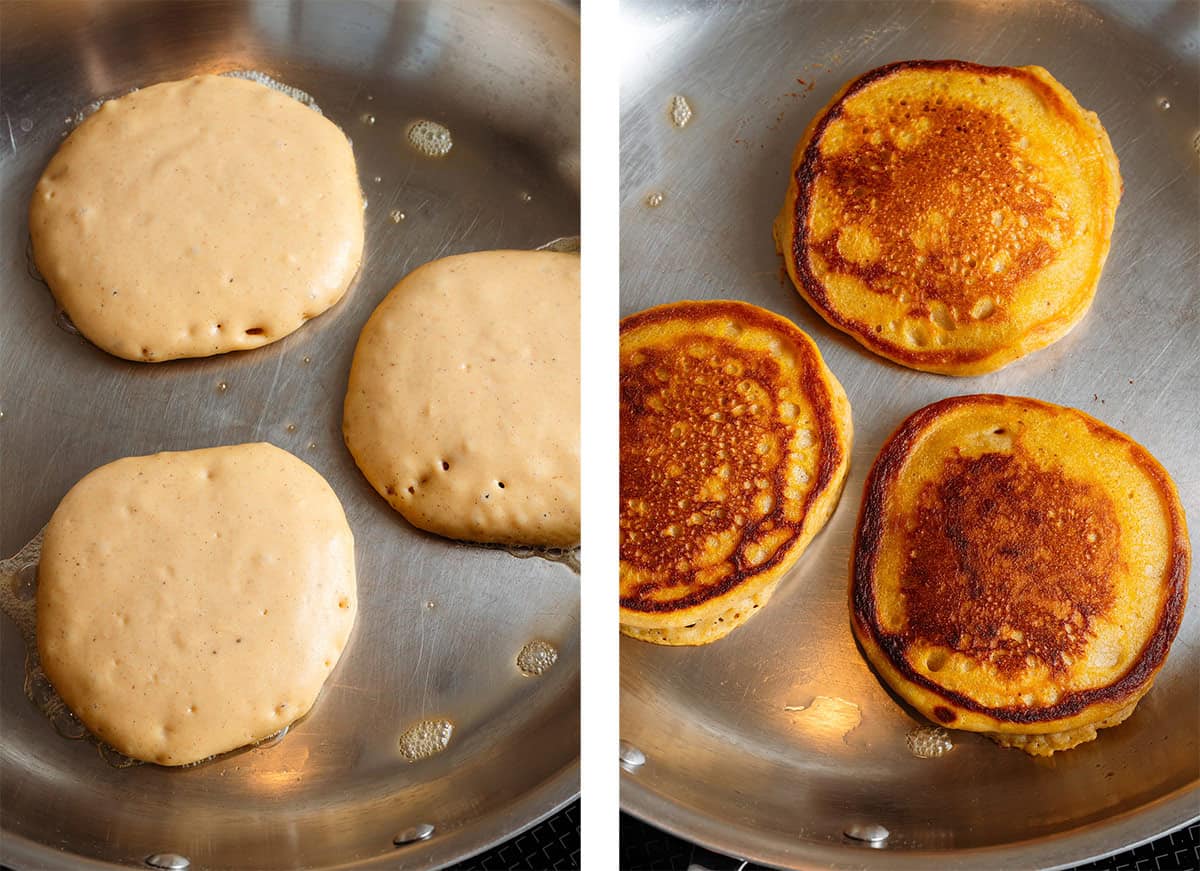
- Heat approx. 1 tablespoon of butter in a large skillet over medium-high heat.
- Spoon the batter into the pan to form pancakes. Don’t overcrowd your pan. I make 3 pancakes in a 12-inch pan.
- Cook the pancakes over medium heat for 2-3 minutes on each side. They should be easy to flip when a few bubbles form and the edges set and become dull.
- Repeat with the rest of the batter, adding more butter as needed, and wiping any burned butter from the pan carefully with a paper towel.
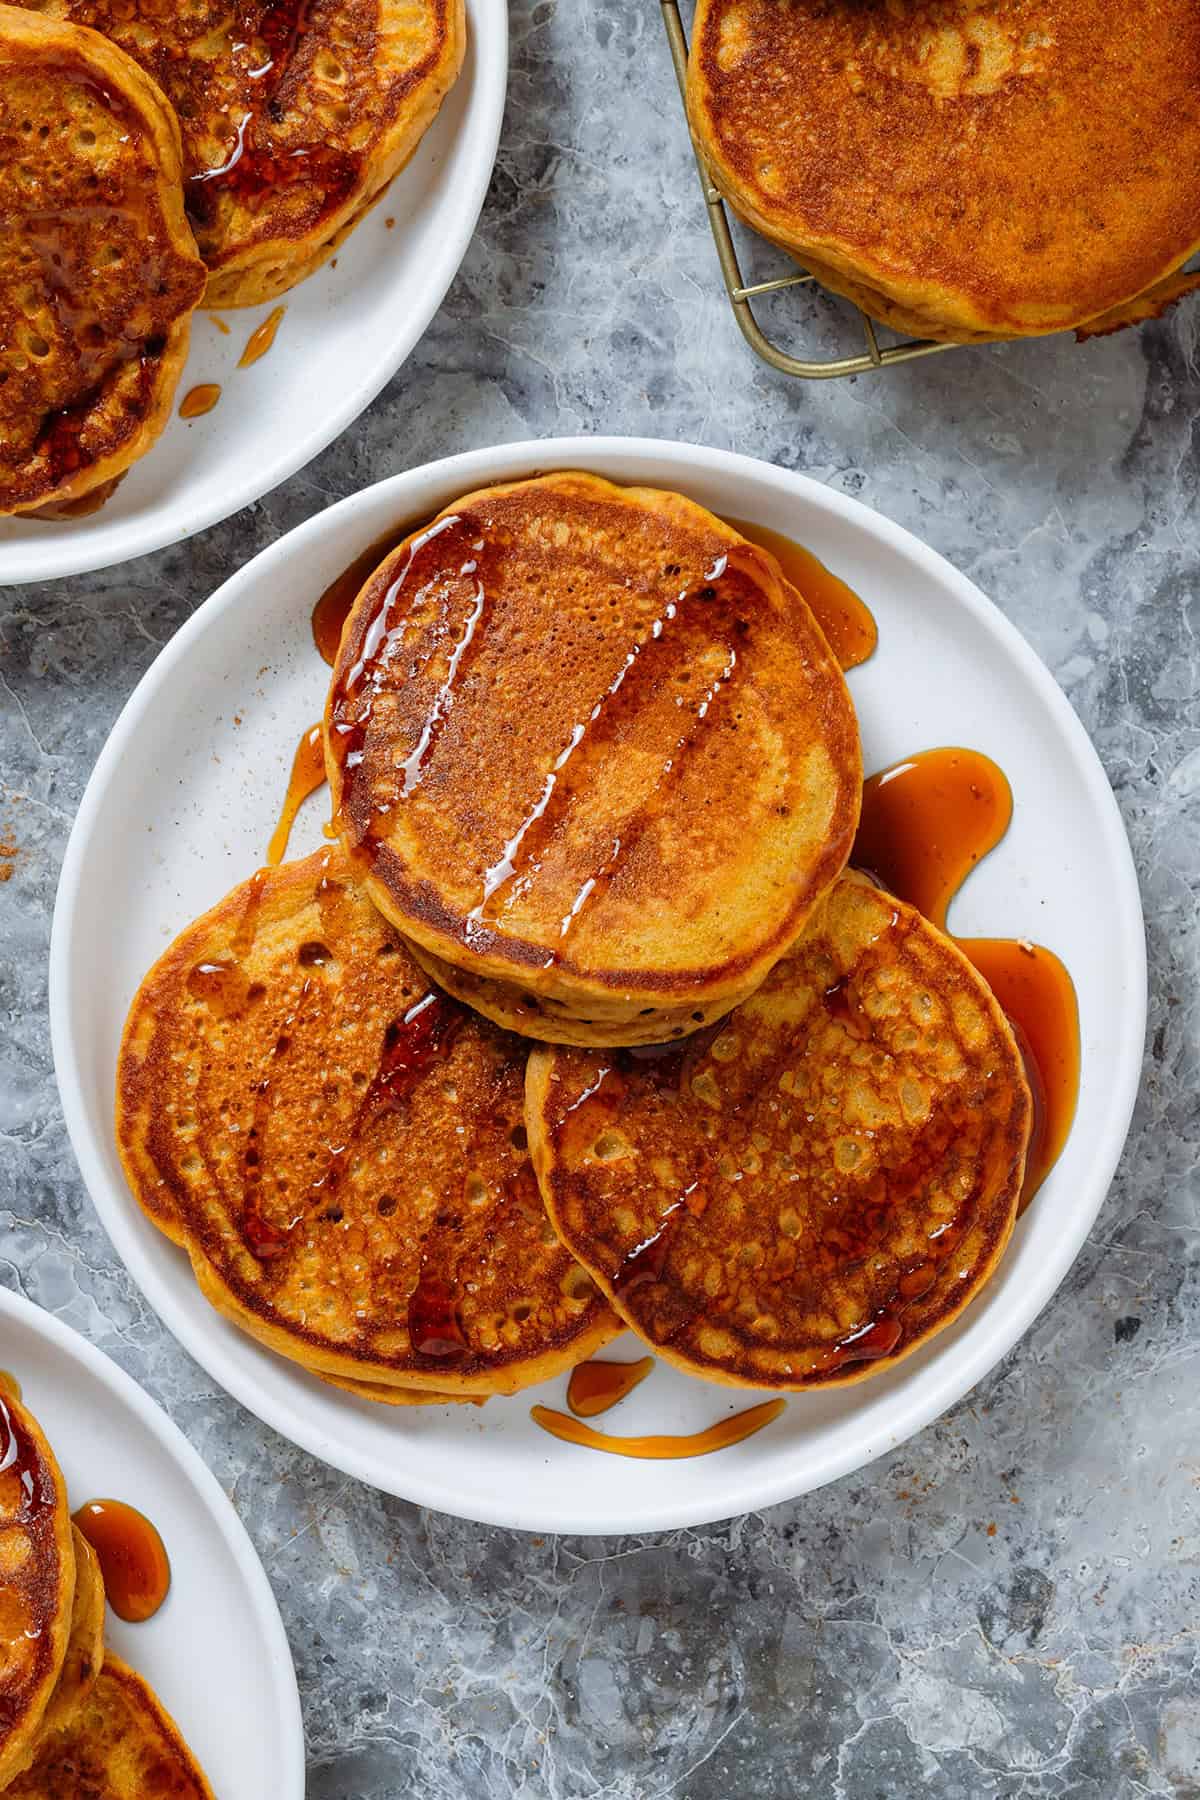
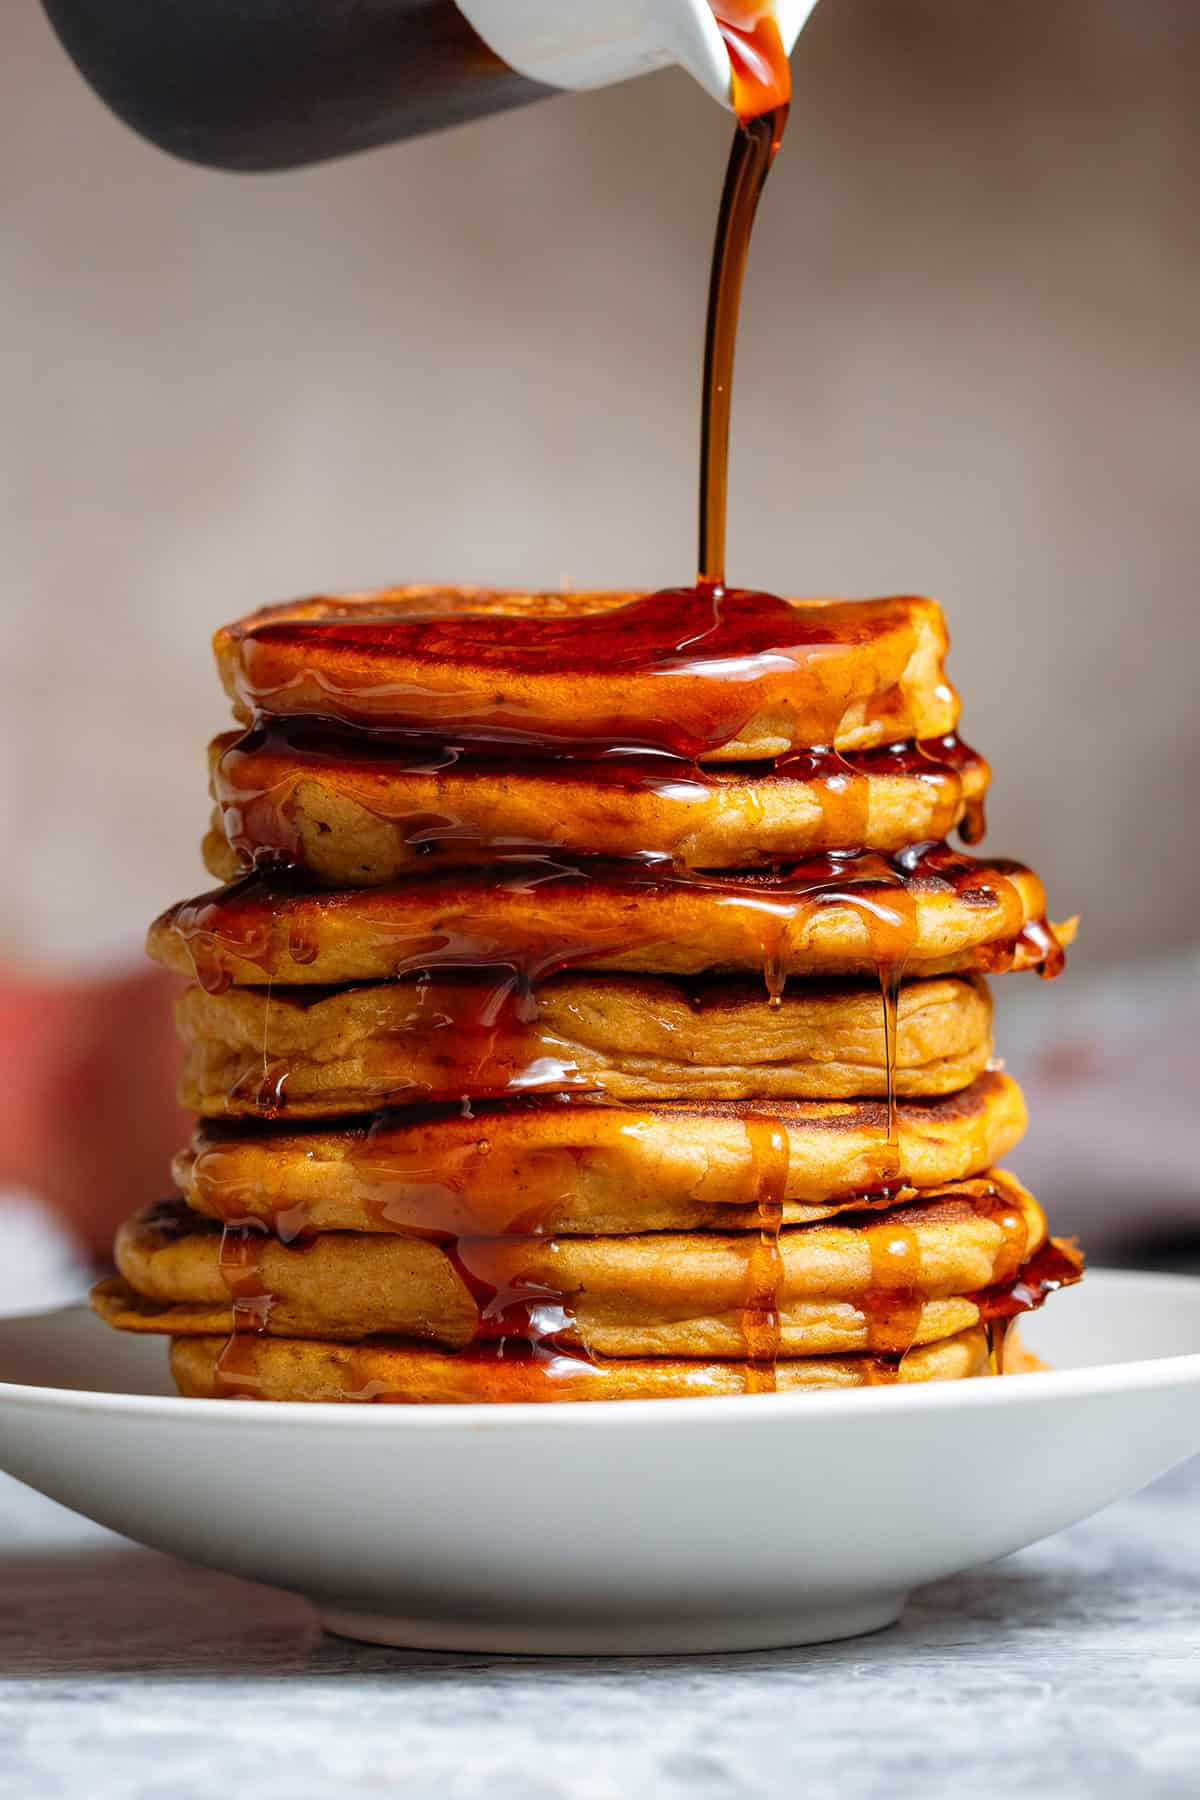
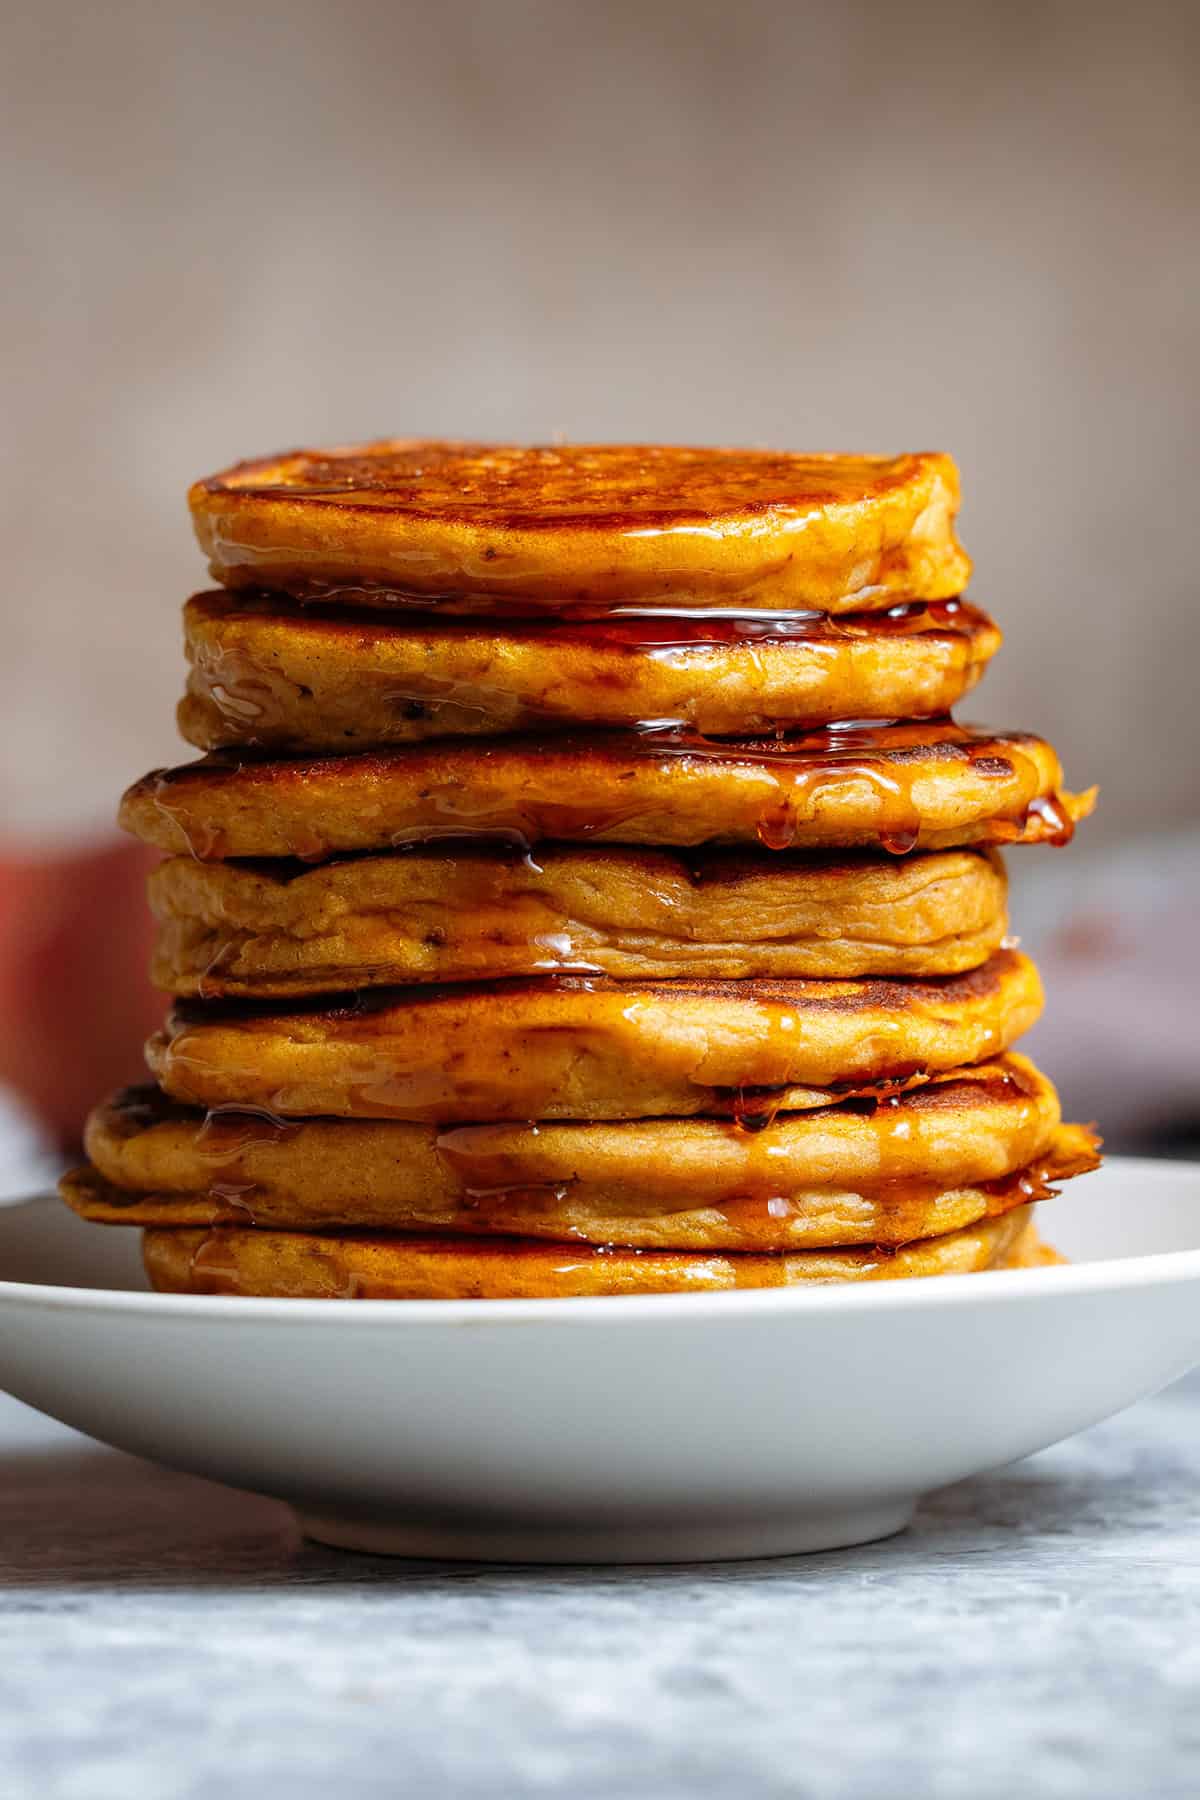
- Serve the pancakes hot with maple syrup and your favorite toppings, and enjoy!
Tips & Tricks!
- Keep the pancakes warm - Preheat your oven to 200F and keep the pancakes on a baking sheet in a single layer in the preheated oven while you finish cooking the rest of the batter.
- Keep the tops crispy - Not overlapping them in the oven or on your plate while you finish cooking the rest prevents them from steaming and losing their crispiness. To take it a step further, you can also use a baking sheet with a wire rack in the oven to keep the crispy on the bottom as well, but it's not necessary.
Serving Suggestions
You can keep them simple with just maple syrup or butter, but you can add practically any toppings you like! My favorites are always fresh berries, almond butter, and Greek yogurt. Below are a few more ideas!
- Syrup - If you want to add more flavor, you can use homemade simple syrup instead of maple syrup, like this Chai Simple Syrup, this Apple Brown Sugar Syrup, or this Chocolate Simple Syrup.
- Nut butter - Add a drizzle of almond butter, peanut butter, Homemade Nutella or add a spoonful of this Salted Caramel Cashew Butter. If you can't have nuts, plain or chocolate sunflower seed butter would also be delicious!
- Caramelized fruit - If you want to make the pancakes extra special for a Sunday or holiday brunch, top them with some Caramelized Apples, or the caramelized banana from this Caramelized Banana Oatmeal.
Storing
Refrigerator - Store any leftover pancakes in an airtight container in the fridge for up to 3-4 days.
Freezer - You can also keep the pancakes in the freezer in a freezer-safe container or a freezer bag for 2-3 months. To prevent them from sticking together, place pieces of parchment paper between the pancakes. If you have the space, you can also freeze them on a baking sheet first and then transfer them to a freezer bag.
Reheating
You can reheat the pancakes either in a non-stick pan over medium heat (no oil or butter needed), in the microwave, or in the oven (my favorite). If you're heating up just one or two, you can also use the toaster. Just always keep an eye on them!
Oven - Preheat your oven to 300F, and place the pancakes on a baking sheet in a single layer. Refrigerated pancakes will take 8-10 minutes. They'll take 15-20 minutes to reheat from frozen, possibly longer if it's a lot of them. If you have time, you can also defrost them in the fridge overnight or at room temperature for at least 30 minutes first.
FAQs
Yes, if you have plain cooked sweet potatoes, you can use them for these! Just avoid any savory mashed sweet potatoes or any roasted diced ones because they won't be as creamy.
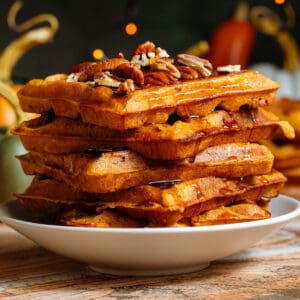
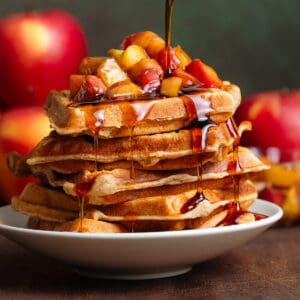
Other Gluten-Free Pancakes
If you want to see similar pancakes with either pumpkin, bananas, or apples (the apple ring pancakes are my favorite for fall!), check out the four below! To see all the latest ones, head over to Pancakes and Waffles.
⭐⭐⭐⭐⭐
Have you tried these Gluten-Free Sweet Potato Pancakes? Please leave a star rating and let me know how it went in the comments below!
Hungry for more? Subscribe to my Newsletter for a free recipe e-book and new weekly recipes straight to your inbox. Don't forget to follow me on Pinterest and Instagram to always stay in the loop!
Print📖 Recipe
Gluten-Free Sweet Potato Pancakes
These Gluten-Free Sweet Potato Pancakes are easy to make, crispy on the outside, and extra soft and fluffy on the inside! If you've never added sweet potato puree to a pancake batter, you've got to try these! They're very freezer-friendly, so you can enjoy them any day of the week! The recipe is very simple and easy to make dairy-free!
- Total Time40 minutes
- Yield3-4 (14-16 pancakes) 1x
- DietGluten Free
Ingredients
- 1 ½ cup Bob’s Red Mill 1:1 gluten-free flour (or your favorite gluten-free flour or regular all-purpose flour)
- 1 tsp baking powder
- ½ tsp baking soda
- ½ tsp ground cinnamon
- ⅛ tsp ground cloves
- ⅛ tsp ground allspice
- 2 large eggs
- ½ cup sweet potato puree
- 3 tbsp melted unsalted butter or avocado oil
- 2 tbsp maple syrup
- 1 tsp vanilla extract
- ½ tsp fine sea salt
- 1 ½ cup buttermilk
- Butter or cooking oil for cooking
Instructions
- In a medium bowl, whisk together the flour, baking powder, baking soda, ground cinnamon, cloves, and allspice. Set aside.
- In a large bowl, whisk together eggs, sweet potato puree, avocado oil, maple syrup, vanilla extract, and fine sea salt.
- Add buttermilk and whisk again to mix.
- Add the dry ingredients in two batches and whisk and fold until just mixed. Don’t overmix.
- Heat approx. 1 tablespoon of butter in a large pan over medium-high heat.
- Spoon the batter into the pan to form pancakes. Don’t overcrowd your pan. I make 3 pancakes in a 12-inch pan.
- Cook the pancakes over medium heat for 2-3 minutes on each side. They should be easy to flip when a few bubbles form and the edges set and become dull.
- Repeat with the rest of the batter, adding more butter as needed, and wiping any burned butter from the pan carefully with a paper towel.
- Serve the pancakes hot with maple syrup and your favorite toppings, and enjoy!
Notes
Homemade buttermilk: You can use whole milk or any vegan milk except canned coconut milk. Measure 2 cups of regular or dairy-free milk, remove 2 tablespoons of the milk, and add 2 tablespoons of lemon juice or apple cider vinegar. Gently stir and let it sit for 5-10 minutes. It's ready when it slightly thickens and curdles.
Keep the pancakes warm: Preheat your oven to 200°F and keep your pancakes in the preheated oven on a baking sheet in a single layer while you finish cooking the rest of the batter. Use a baking sheet with a wire rack to keep them crispy on both sides.
Storing: Store them in the fridge for 3-4 days in an airtight container. You can also freeze them in a freezer bag or a freezer-safe container for 2-3 months. Place a piece of parchment paper between the pancakes to avoid them sticking together.
- Prep Time: 10 mins
- Cook Time: 30 mins
- Category: Breakfast
- Method: Stovetop
- Cuisine: American

Leave a Reply