I'd be lying if I said I wasn't obsessed with homemade almond milk. It makes every oatmeal or smoothie just so much better (and by better I mean super creamy and absolutely heavenly). Making almond milk at home isn't even that hard — it's only a matter of soaking, blending, and straining and it's oh so worth the effort.
This is the second post of my How To series and funnily enough, the first one was also all about almonds. Check out How to Make Almond Butter here. It's honestly the best tasting almond butter ever!
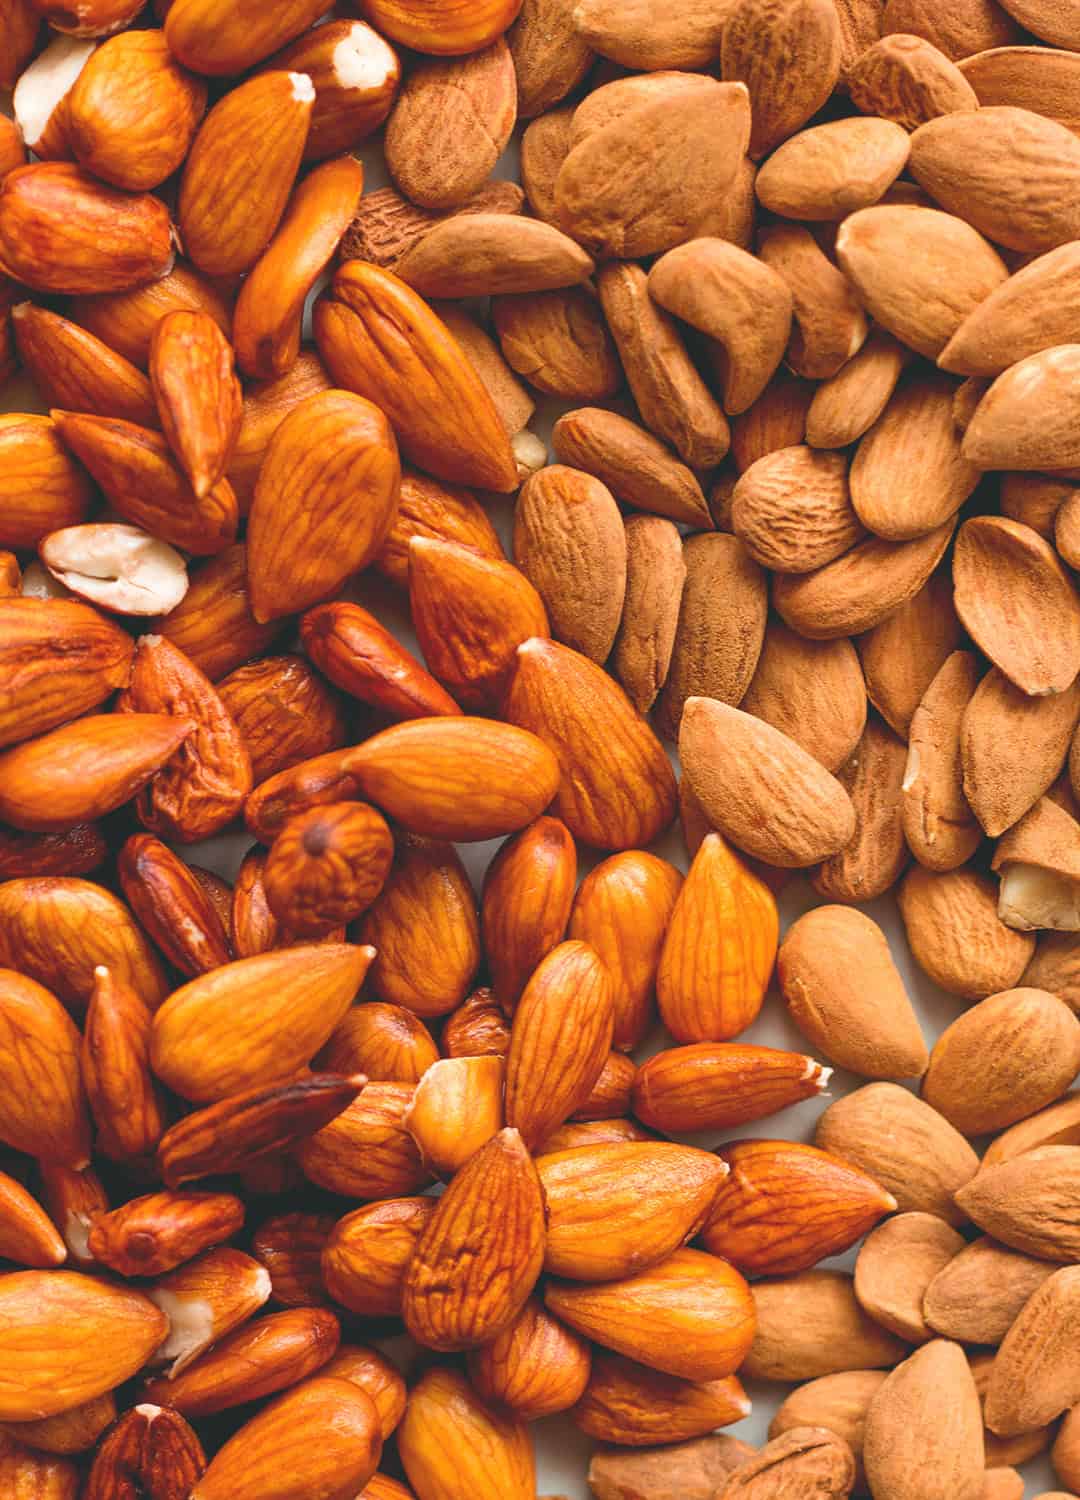
I like to soak the almonds during the day and make the almond milk in the evening so that it's ready for breakfast the next day. Okay, sometimes I soak them overnight but who has the time to make milk before making actual breakfast in the morning??? If you'd have the patience for that, more power to you!
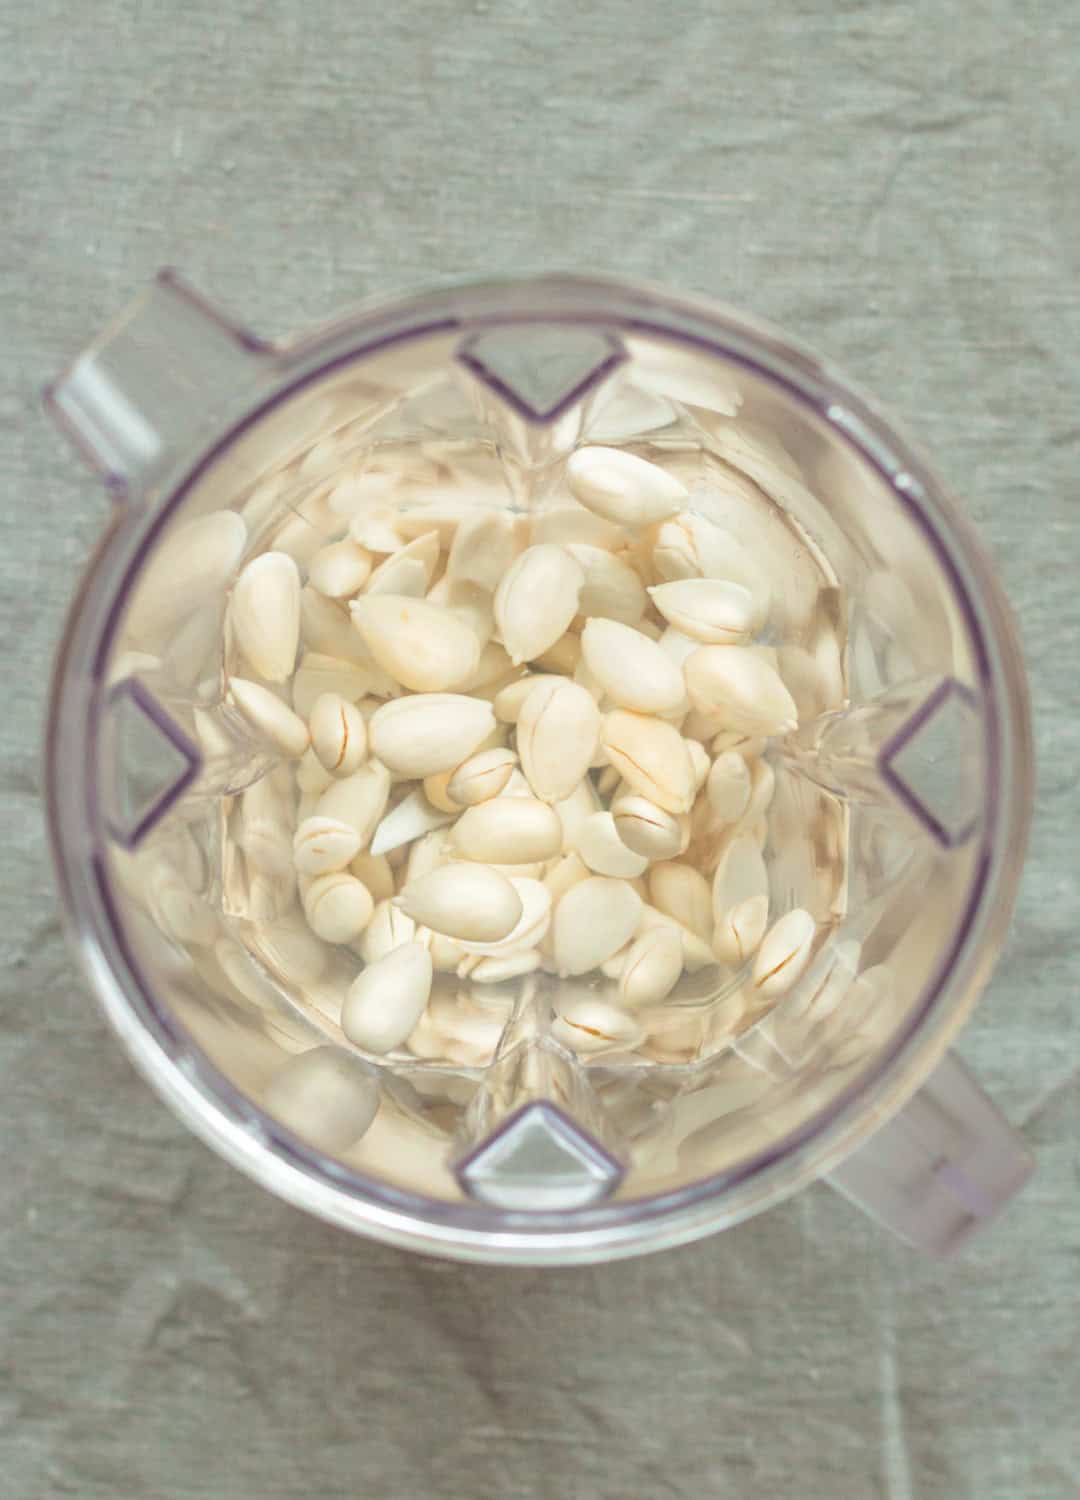
Unless I'm extremely lazy, I take the skin off the almonds before blending them up. Why? Well, mostly because it makes the milk whiter and milder — it takes away the strong almond taste. But also because the skins of the almonds have most of the enzyme inhibitors we want to get rid of because they mess up the digestion of the nuts in our body. Granted, we get rid of most of those by soaking the almonds (always get rid of the water you soak your nuts in!!) but I personally like to get rid of the skins. It's totally optional, though! Some say there are important nutrients in the skin so do your research on that if you want.
I also get rid of the almond skins to find out if any of the nuts had gone bad. I usually keep only creamy white or yellow toned almonds and throw out any that are brown/green. (You wouldn't believe how many spoiled nuts I find every time I soak them.)
I wouldn't think about it too much, though. If you want your milk to be stark white and milder in taste, skin the almonds. If you don't really care and want it to be easier and quicker, keep the skin on.
Would you like to save this recipe?
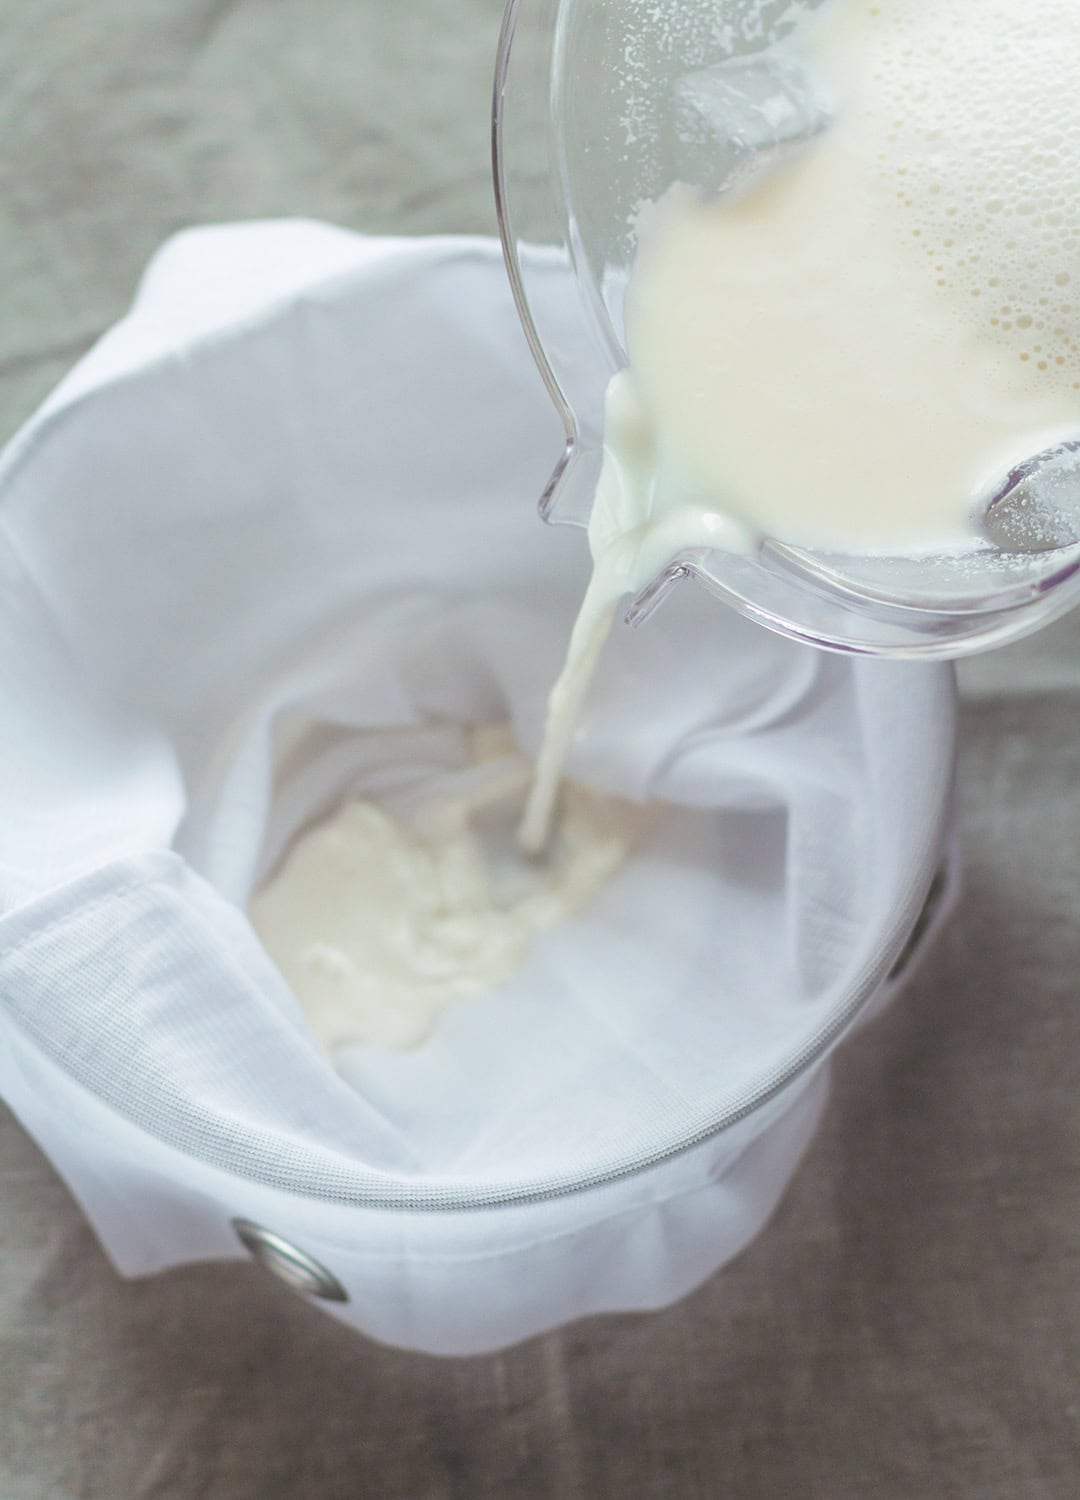
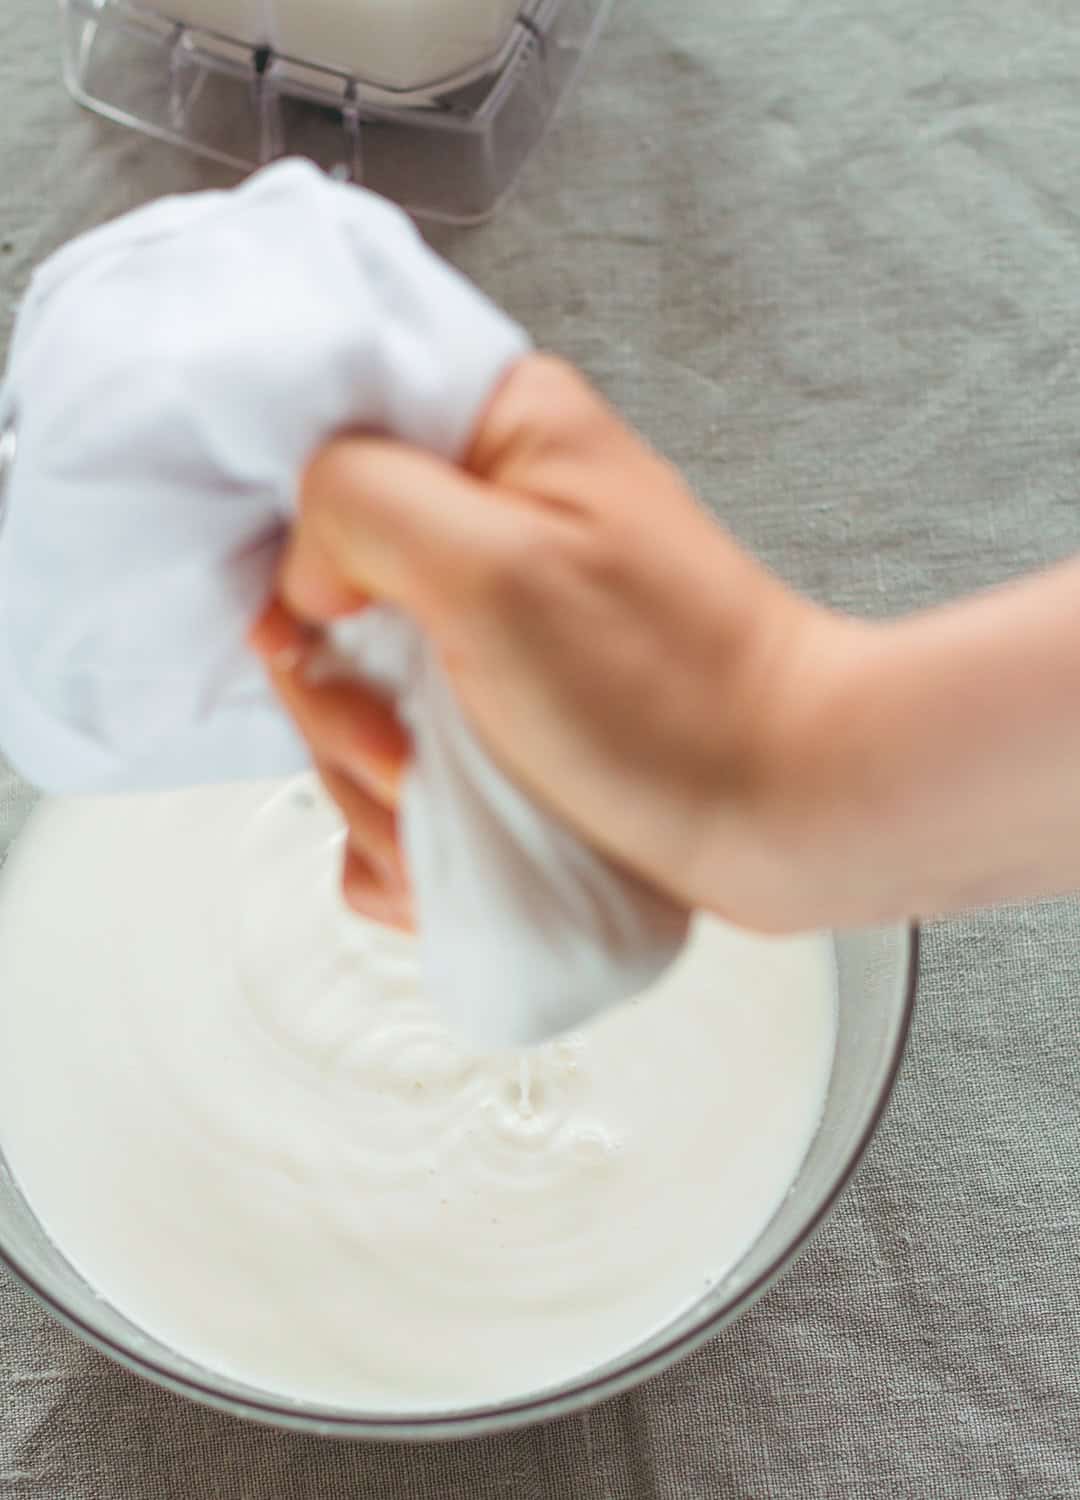
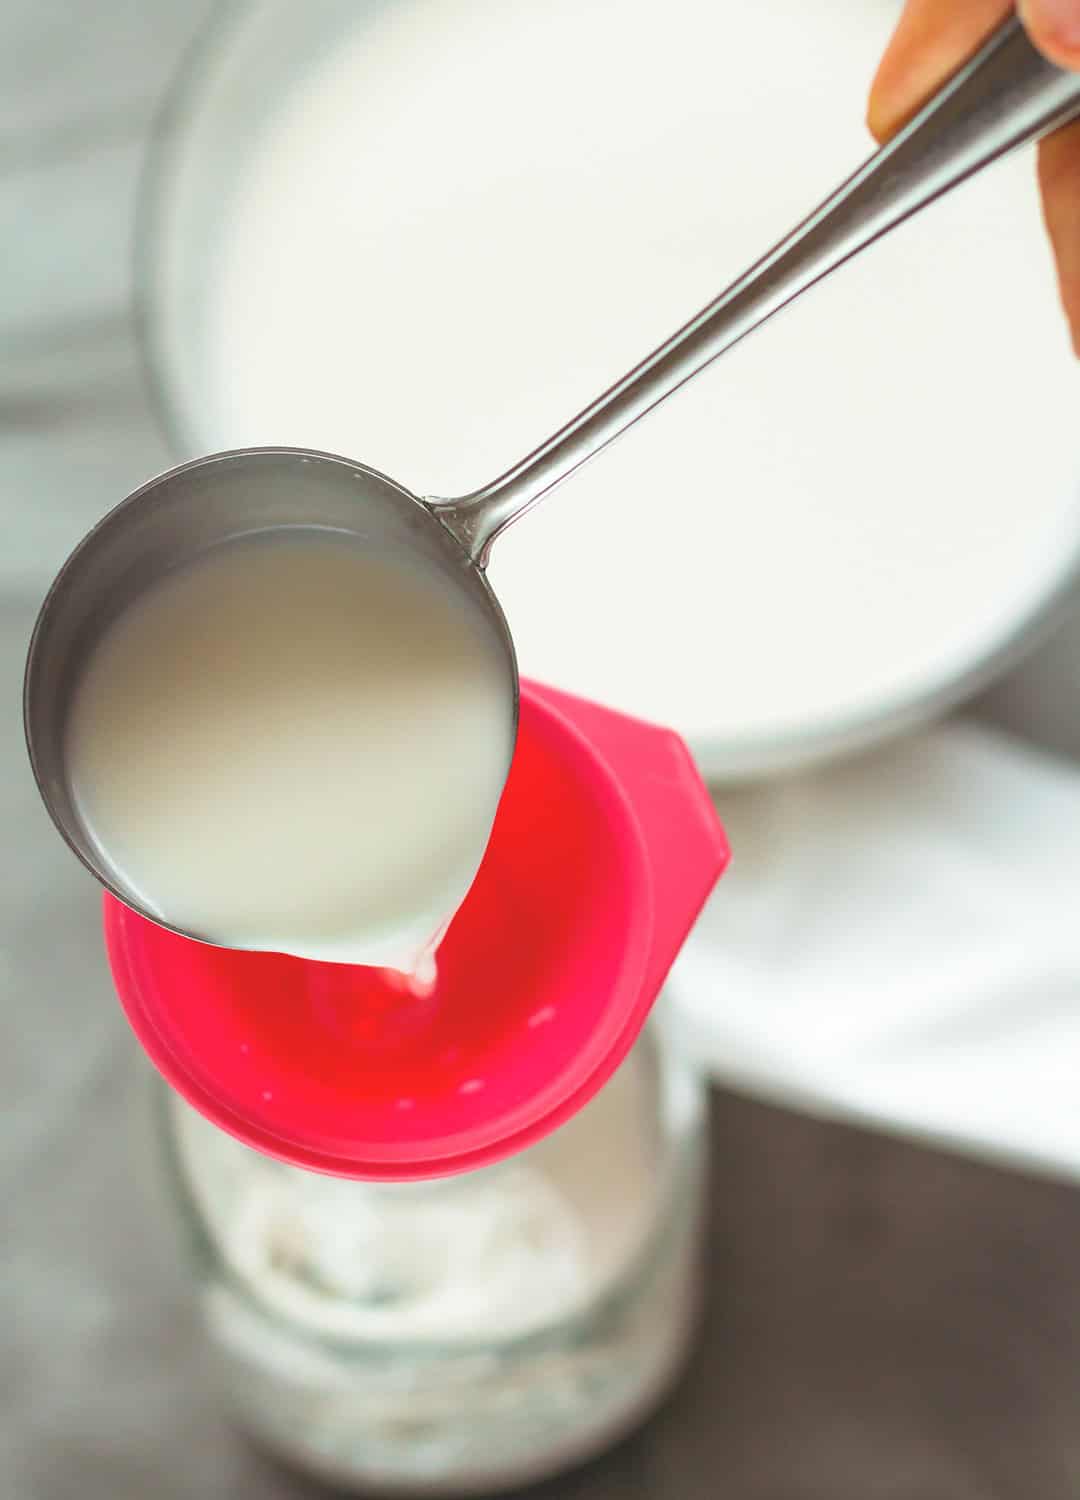
After you blend the nuts with water, you strain the milk into a big bowl through a nut milk bag (which you can get virtually anywhere these days) and pour it into a big glass jar. And voila — you have homemade almond milk! YAY!!
You can store the milk in the fridge for 3-4 days. I like to freeze it if I'm not able to use it all up within those few days. Quick freezing tip: freeze your almond milk in small ½ cup plastic containers because then you'll always know how much to defrost for your oatmeal/smoothie and you won't end up with giant bricks of almond milk.
If you try this recipe, don't forget to let me know on Instagram by posting a picture and tagging me. :) I'm also on Twitter, Facebook, and Snapchat @healthfulideas where I post behind the scenes of shooting and testing all my recipes as well as what I eat each day.
📖 Recipe
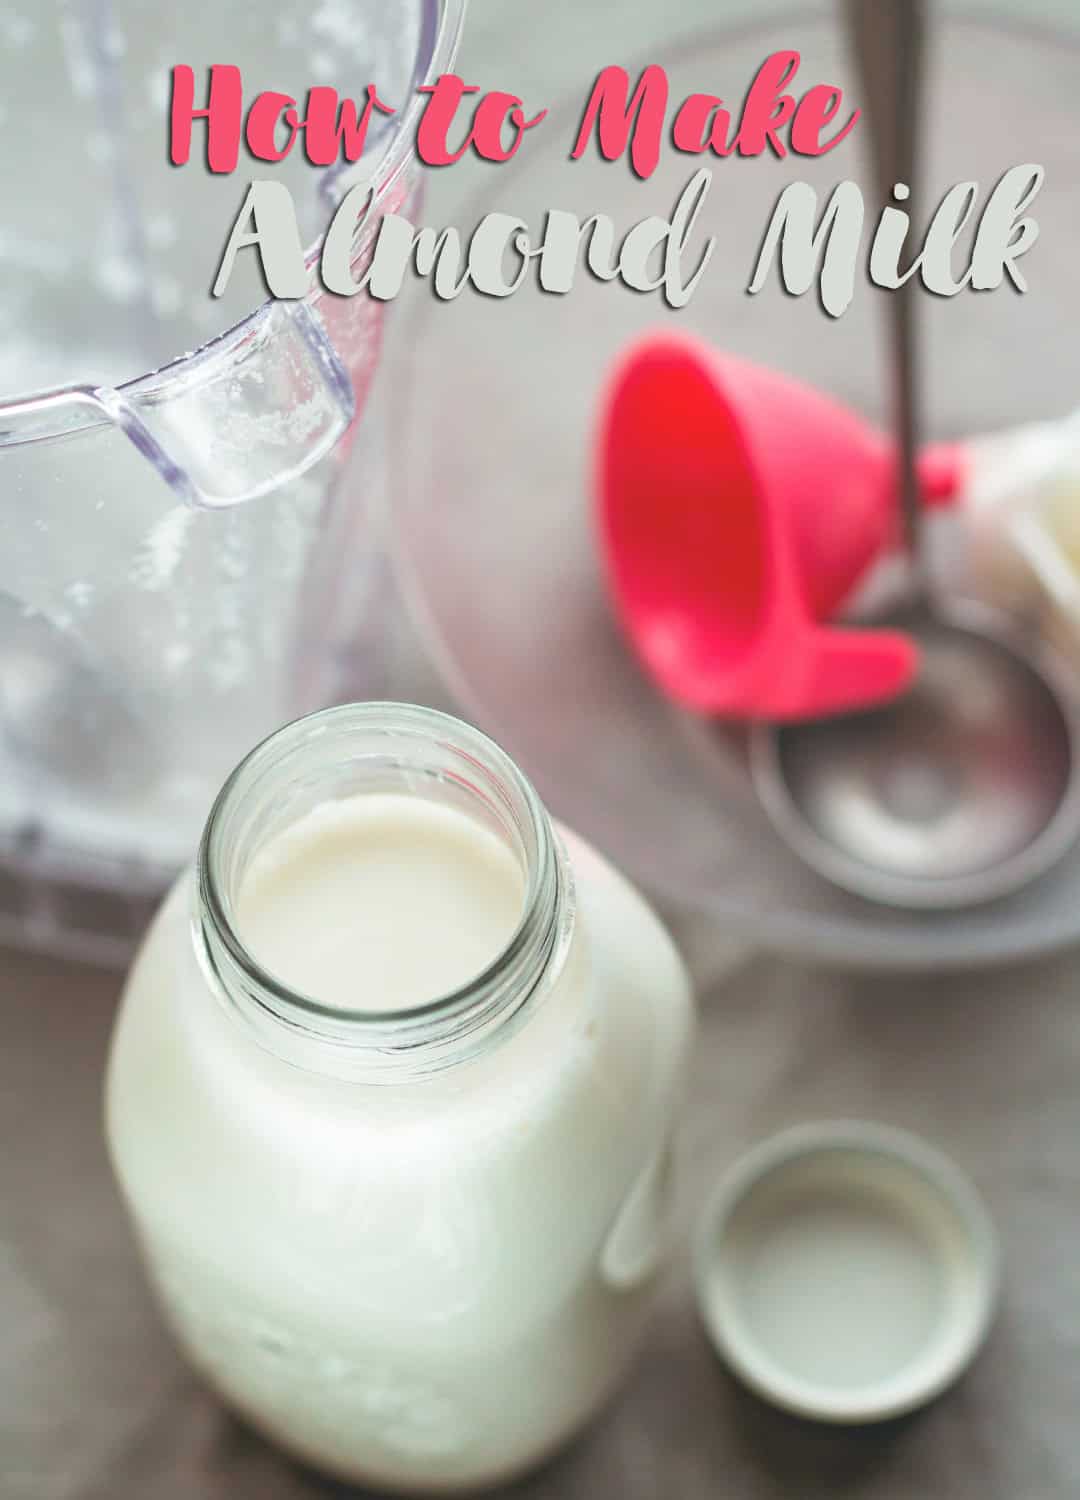
How to Make Almond Milk
- Prep Time: 8 hours
- Cook Time: 10 mins
- Total Time: 8 hours 10 mins
- Yield: 4 cups 1x
Ingredients
- 1 cup almonds
- 4 cups water
- pinch sea salt (optional)
- 1 tbsp maple syrup, dates, or any other sweetener (optional)
- 1 tsp vanilla powder (optional)
Instructions
- Start by soaking the almonds preferably the night before for 8-12 hours.
- The next morning, drain the nuts and rinse them well.
- OPTIONAL: Remove the skin from the nuts using your fingers. Gently squeeze them and the skin should slide right off. If it doesn't they most likely aren't raw or you haven't soaked them long enough. I find it's best to do this with the nuts immersed in water.
- Transfer the almonds in a high-speed blender, add the water, and blend on high for 1-5 minutes until creamy.
- Strain the milk into a bowl using a nut milk bag. You can save the dry pulp for baking, smoothies, or oatmeal.
- Transfer the milk into a glass bottle and keep in the fridge for 3-4 days.
Notes
- Taking the skin off the almonds is totally optional but recommended. I like to do it because I find the milk has milder taste when you remove the skin and it also helps you find if there are any spoiled nuts. Take out any almonds that aren't creamy white and are a weird greenish/brown color instead.
- You can sweeten the milk or add any superfood powders you like such as cacao to make chocolate milk. I like to keep mine plain in case I want to use it in savory dishes.
- The blending part can take anywhere from 1-5 minutes depending on the strength of your blender. For me, it was a little over 1 minute.
- If you don't have a nut milk bag you can use a fine strainer (though I haven't tried this) however, you won't get as smooth texture as you would get with a nut milk bag.





Tara says
Interesting. That doesn't seem too hard. I may give it a try. I pinned it for later!
thehealthfulideas says
It really isn't. Plus its really delicious :)
Anwar says
Damn this fascinating and affordable to make at home, and there’s nothing like homemade treat because you can make it that you want it :D thank you for sharing this
thehealthfulideas says
I know, right? I love homemade almond milk! :)
Cook & Enjoy says
Thanks for sharing - love it
thehealthfulideas says
Happy to! thanks :)